


2x50m | Two to three days: | Public Access
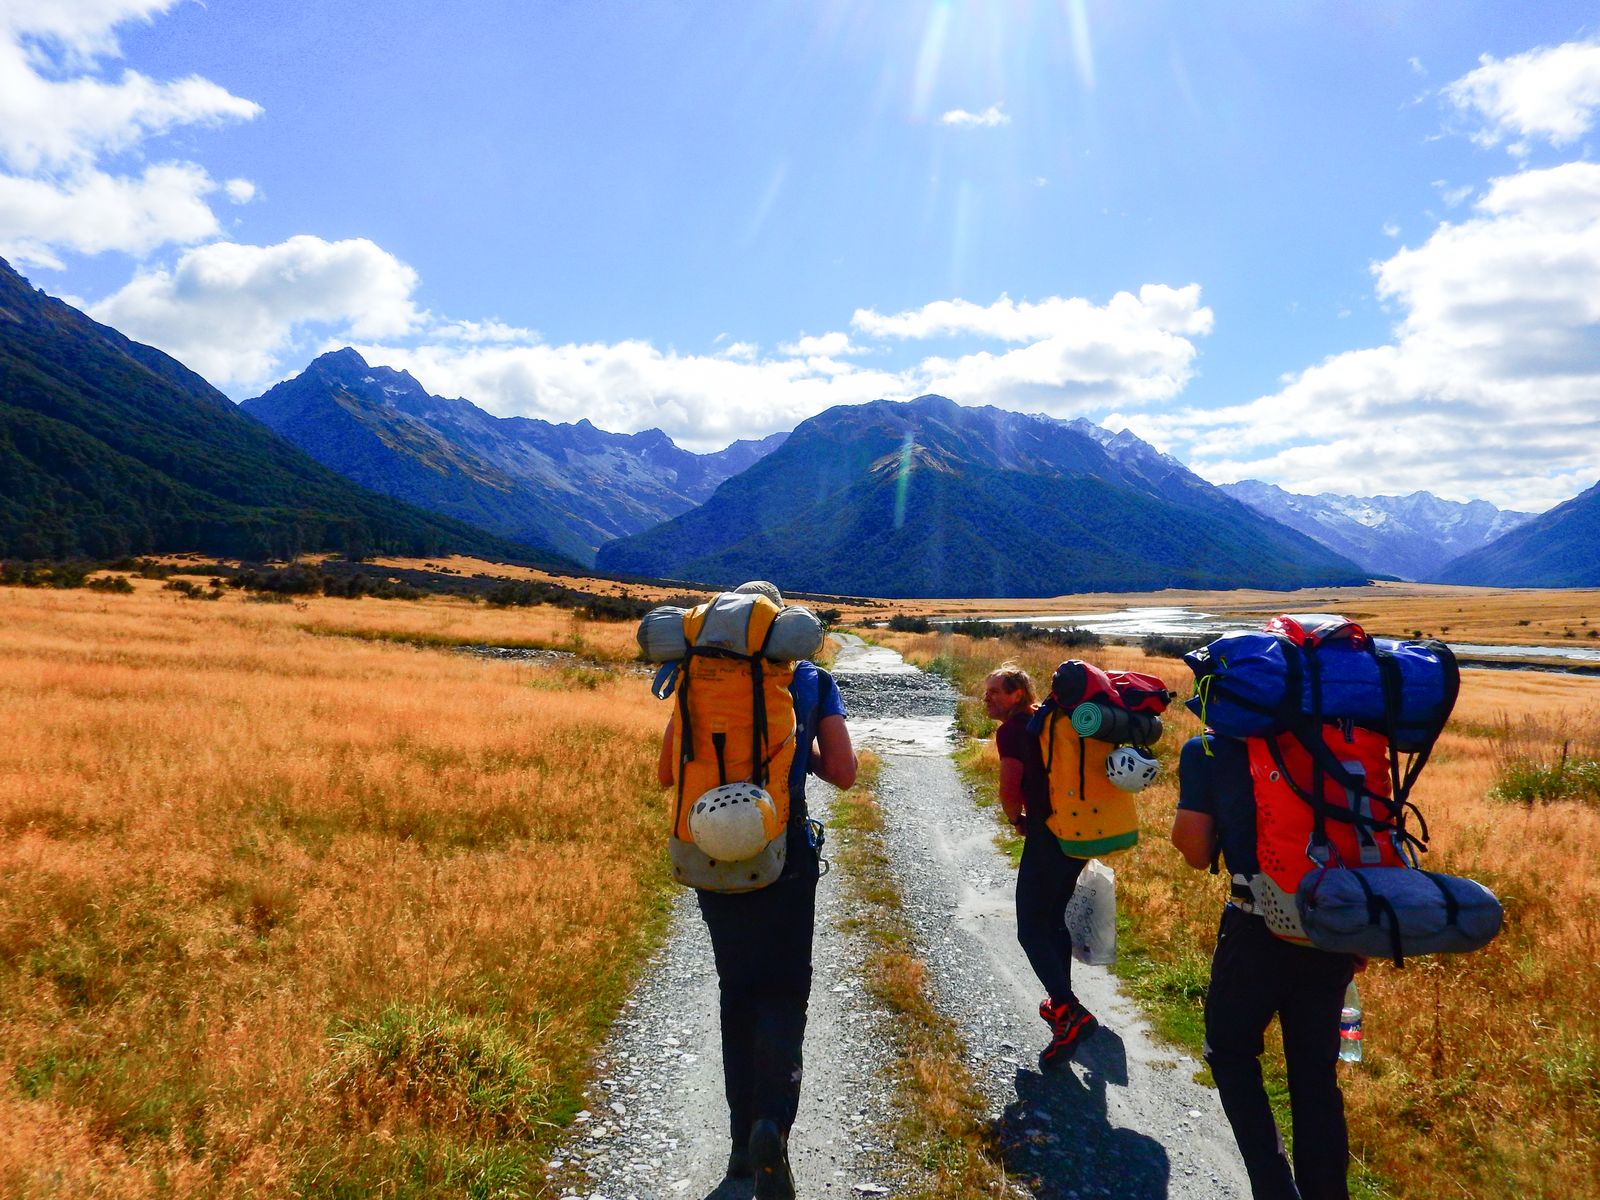
- 4-5hrs to base camp bivvy
- 1hr20 from bivy to canyon
- 5-7hrs descent
- 30 mins return to bivvy.
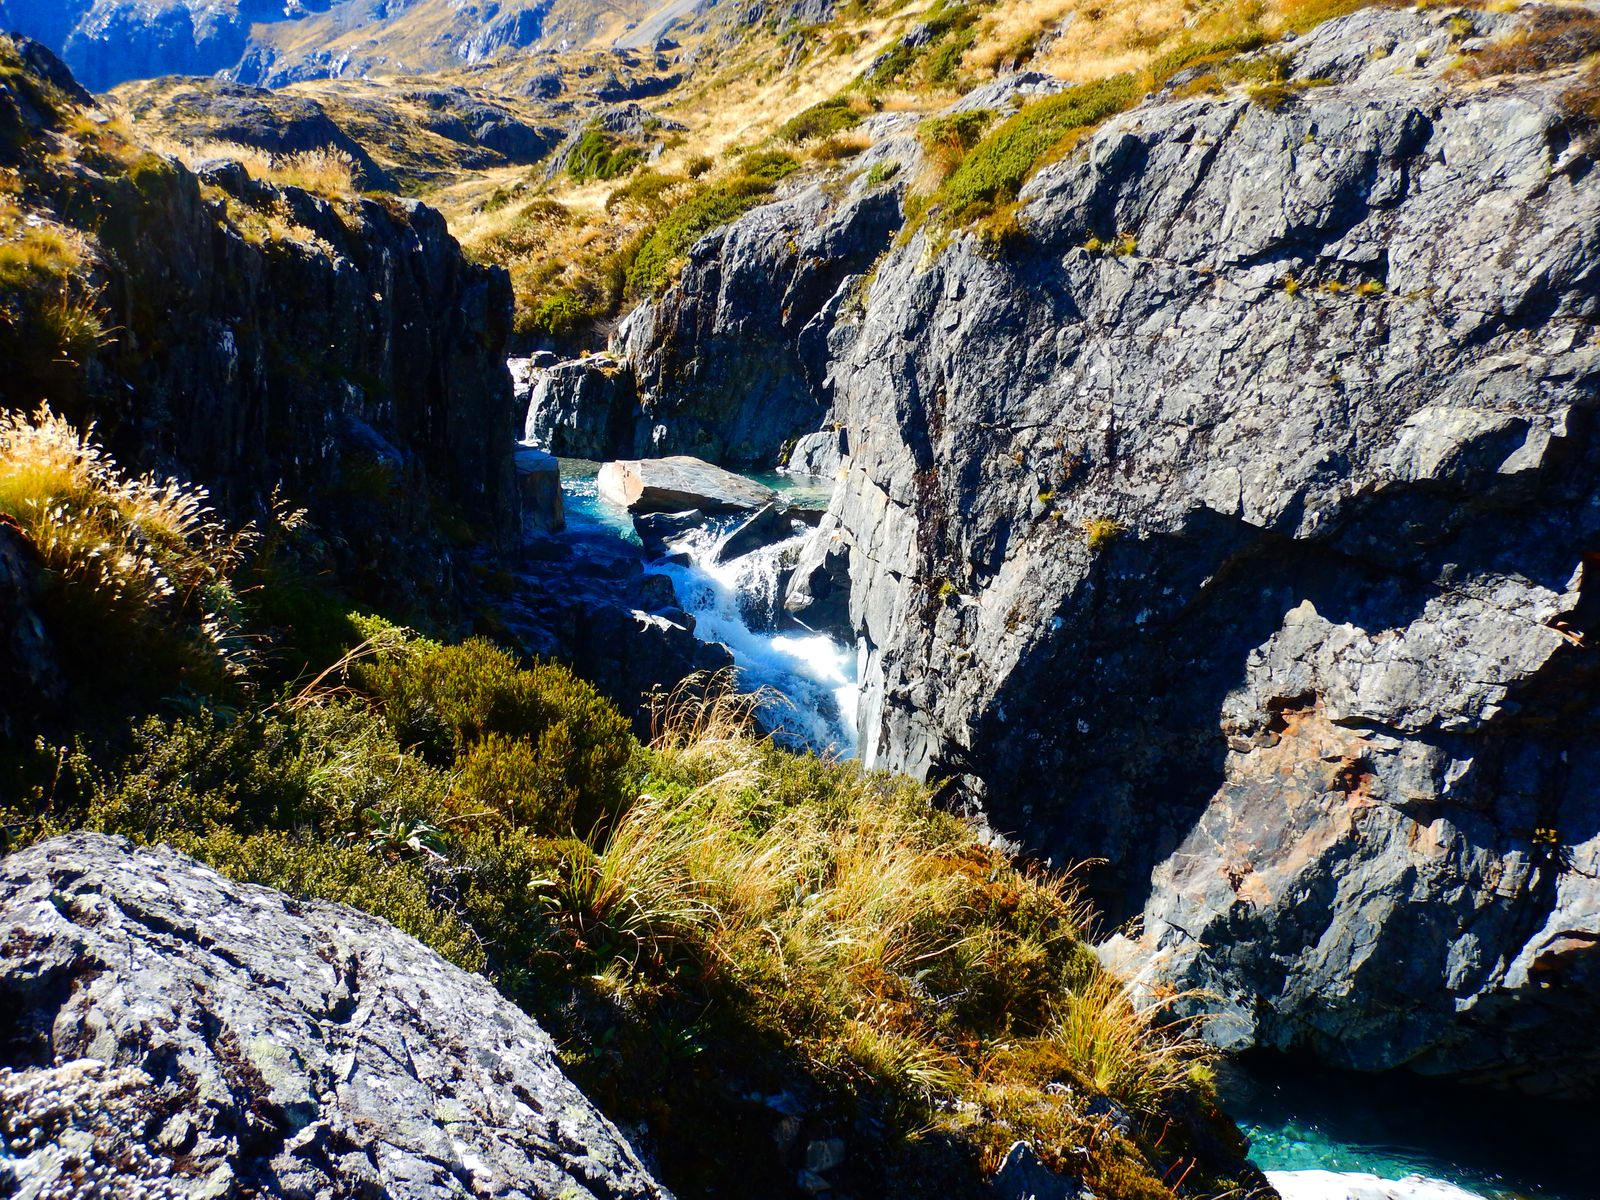
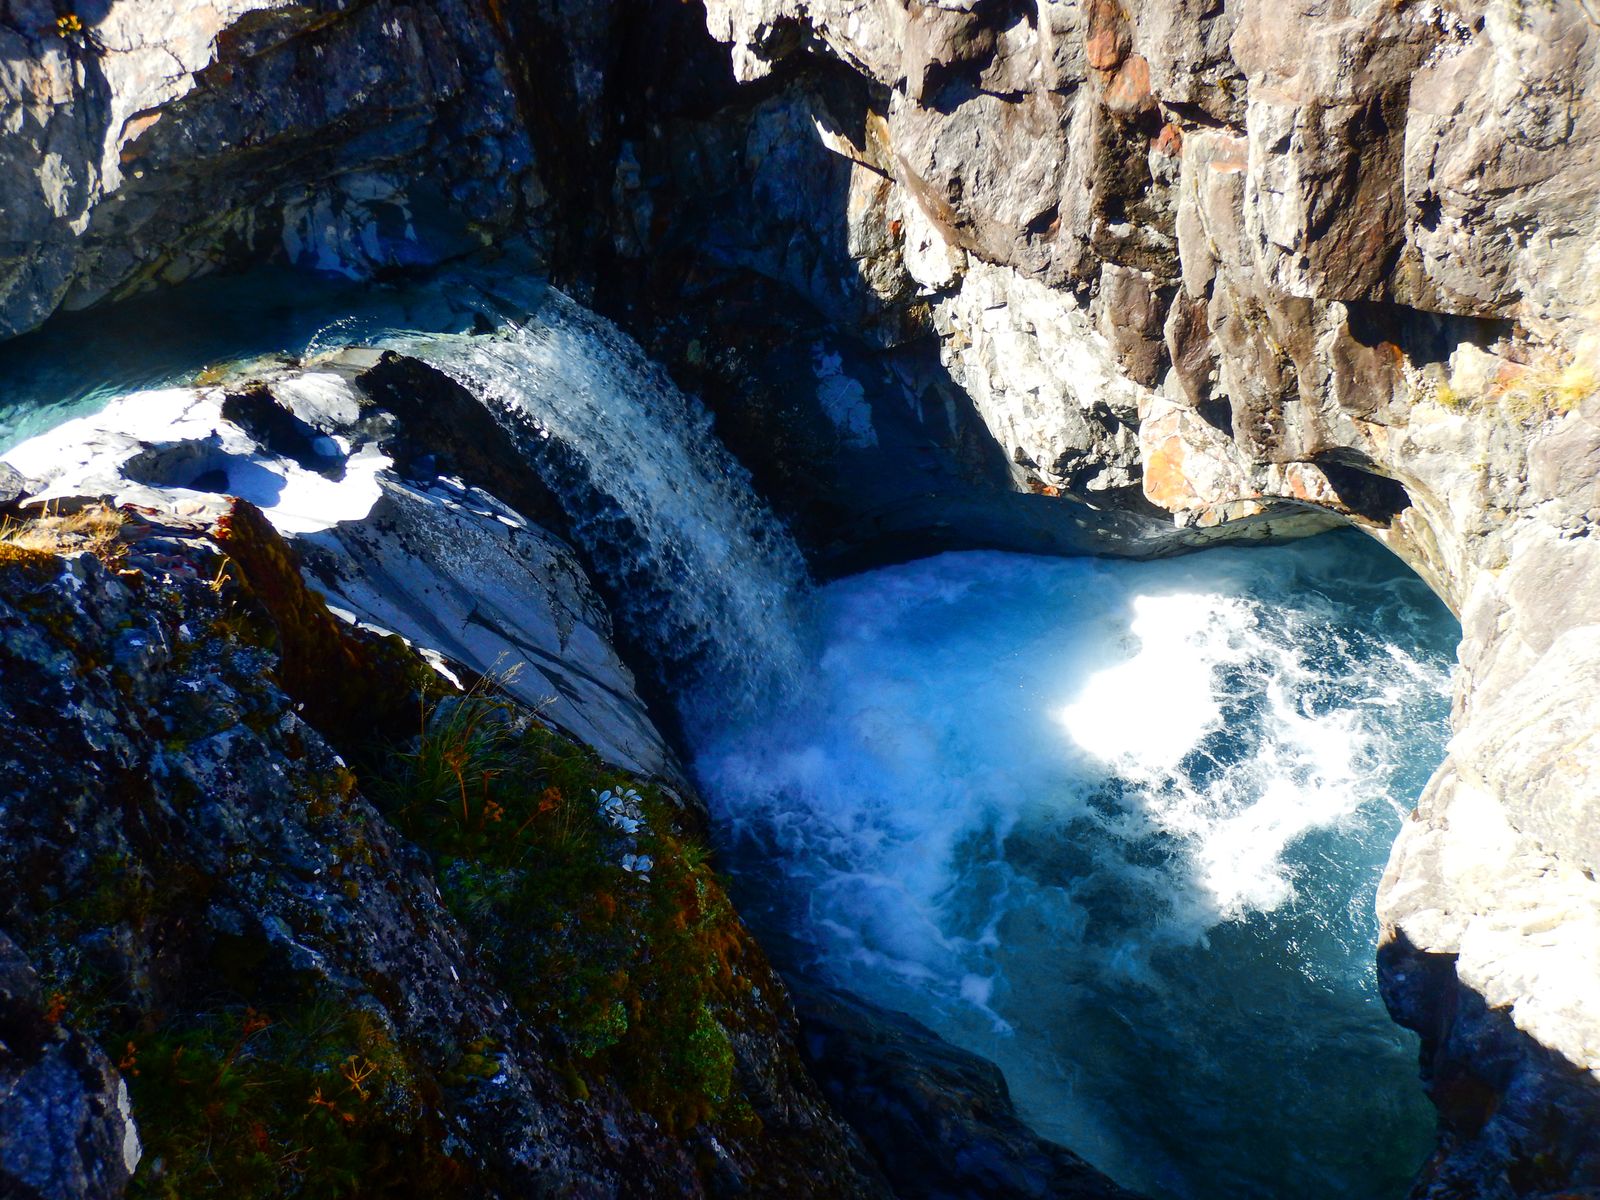
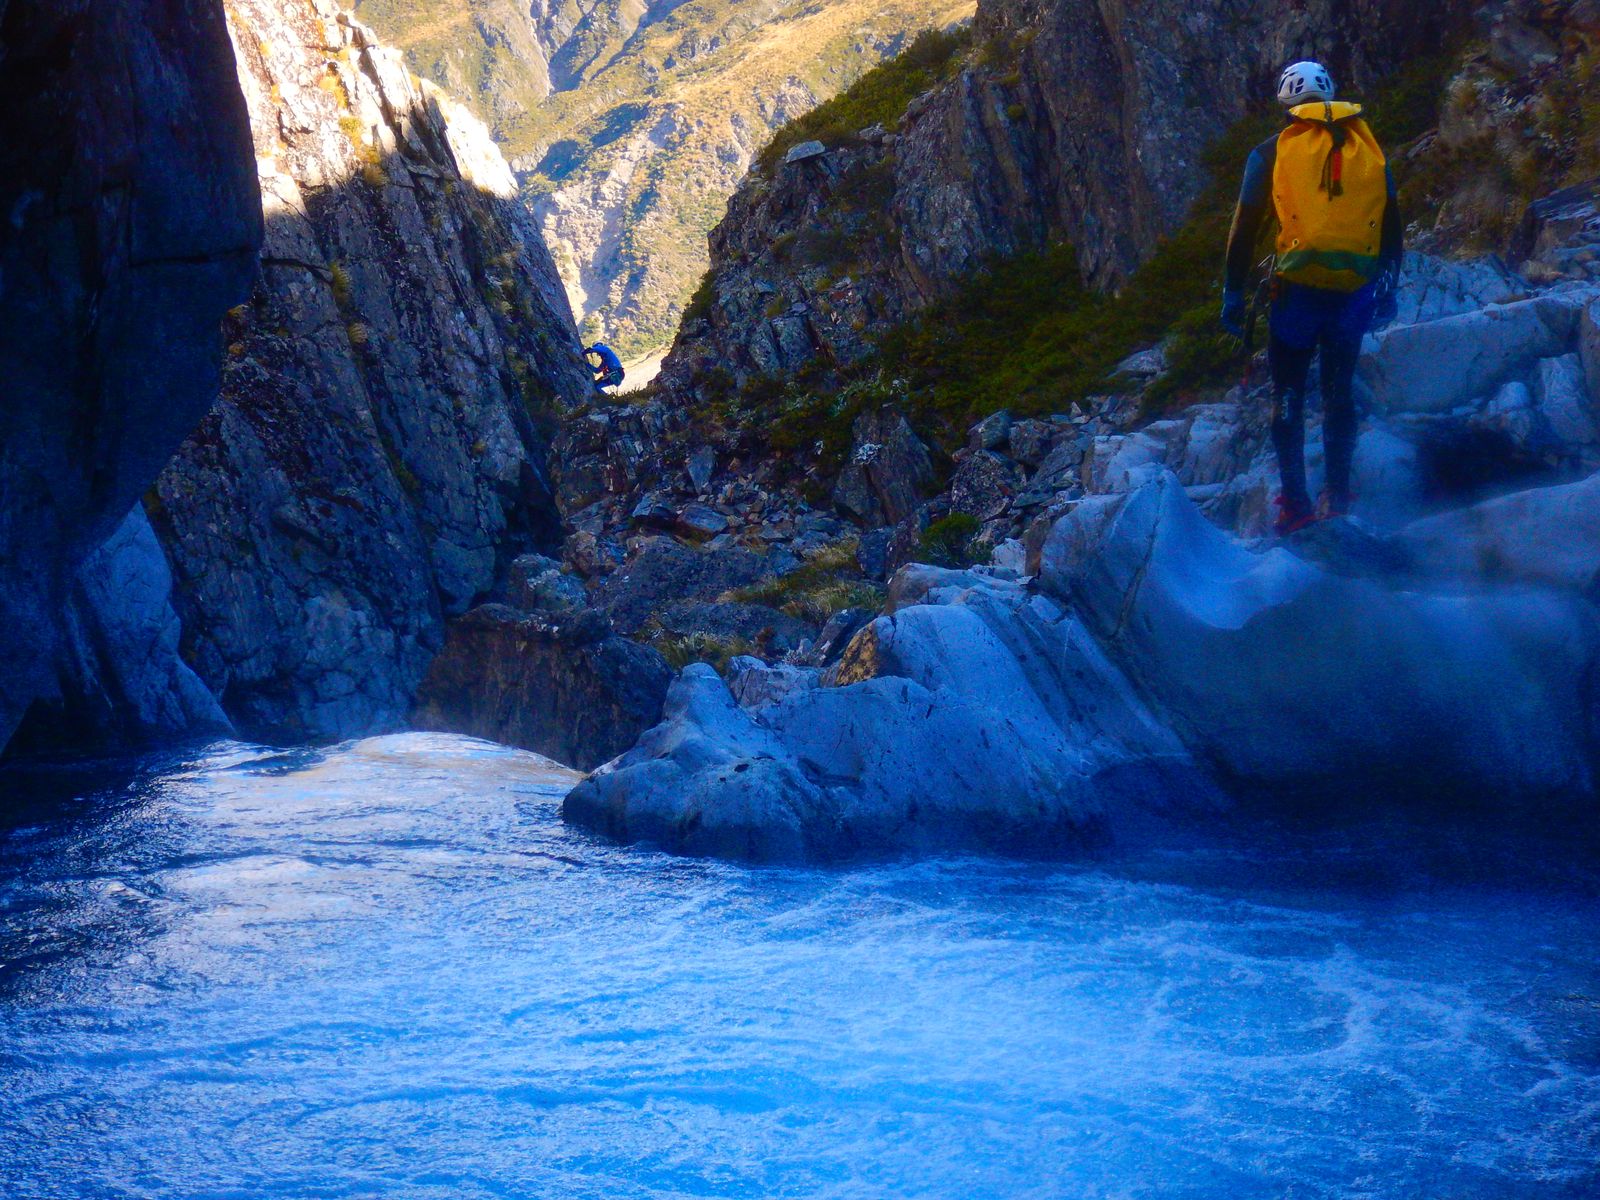
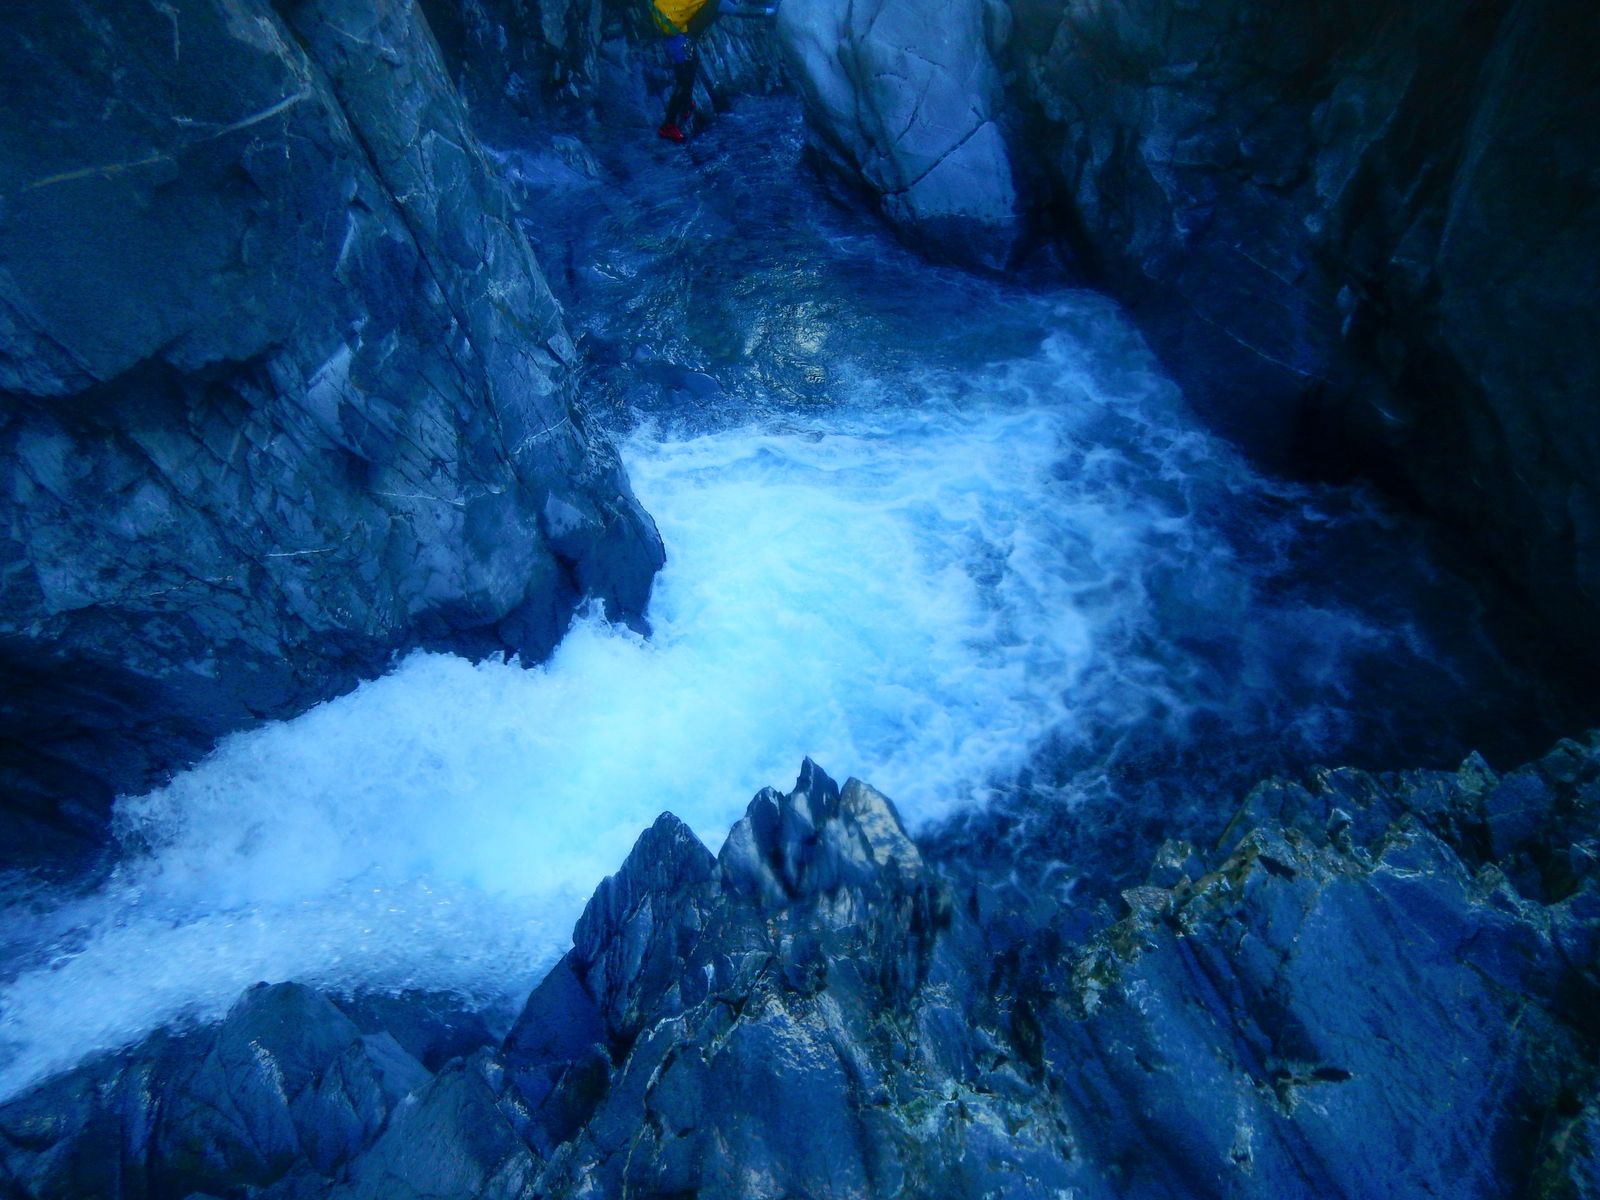
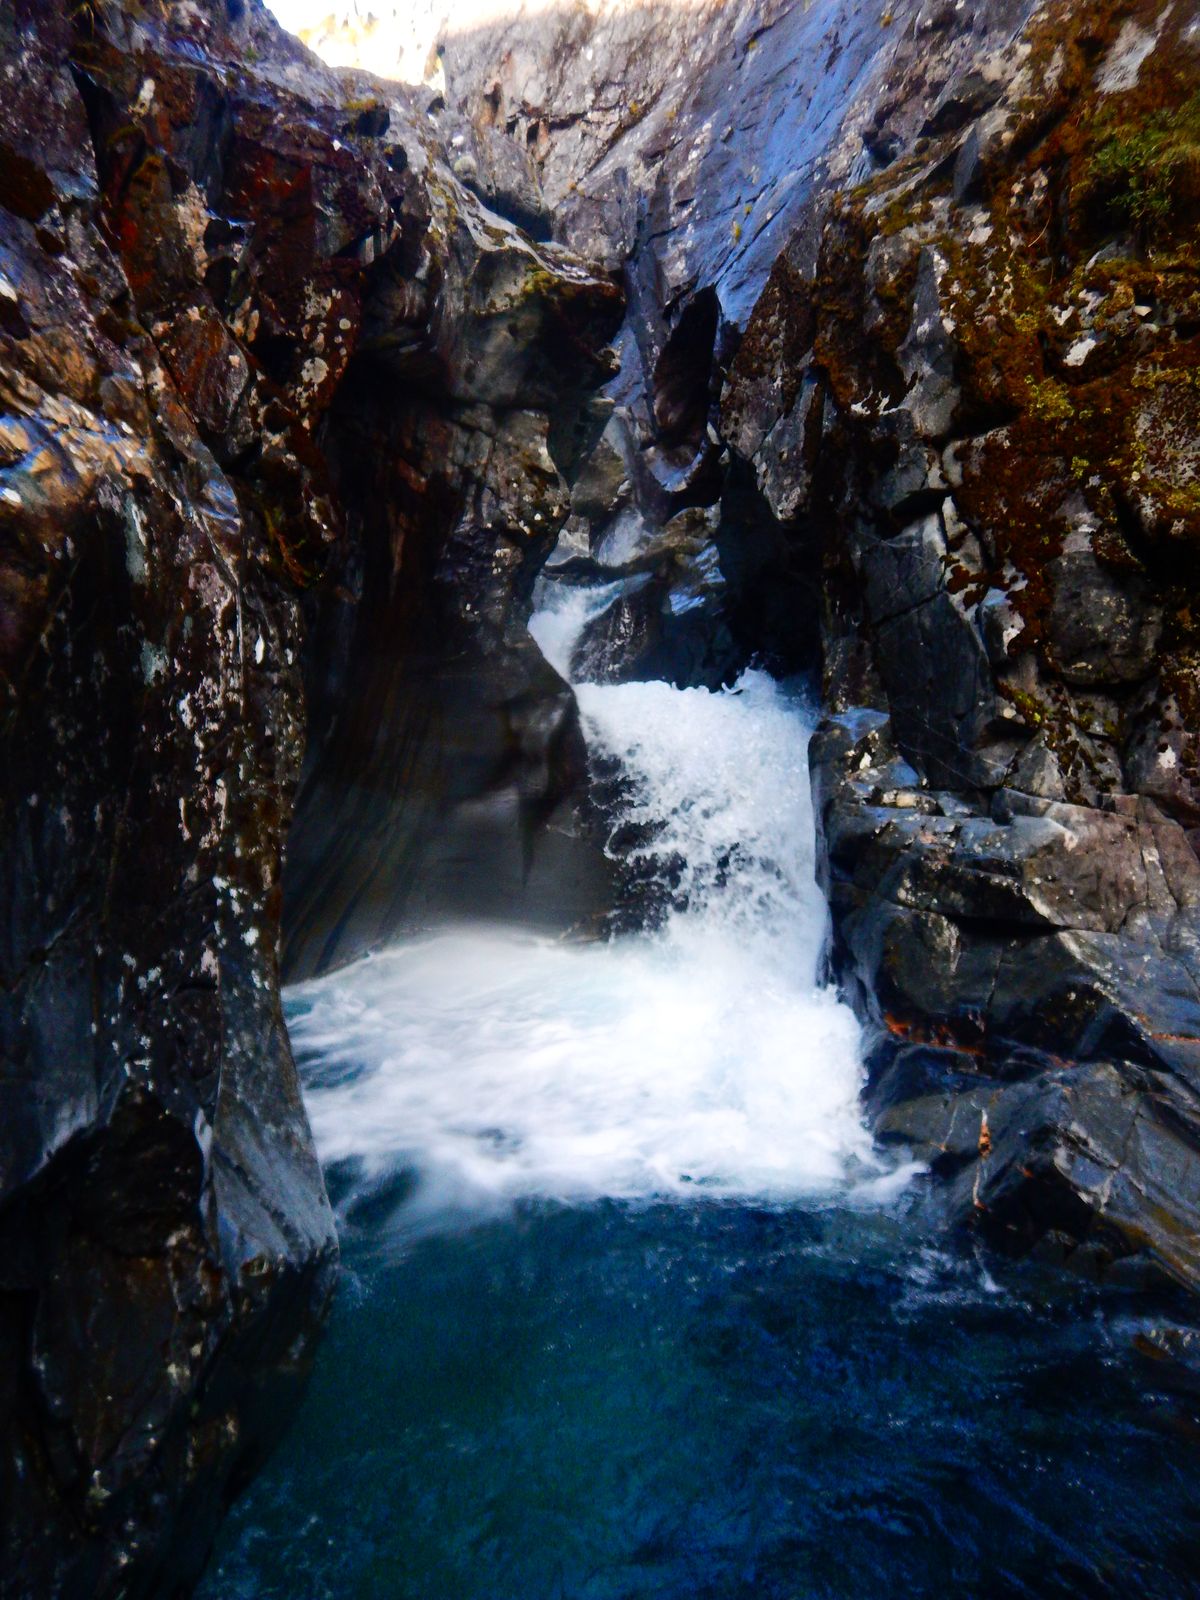
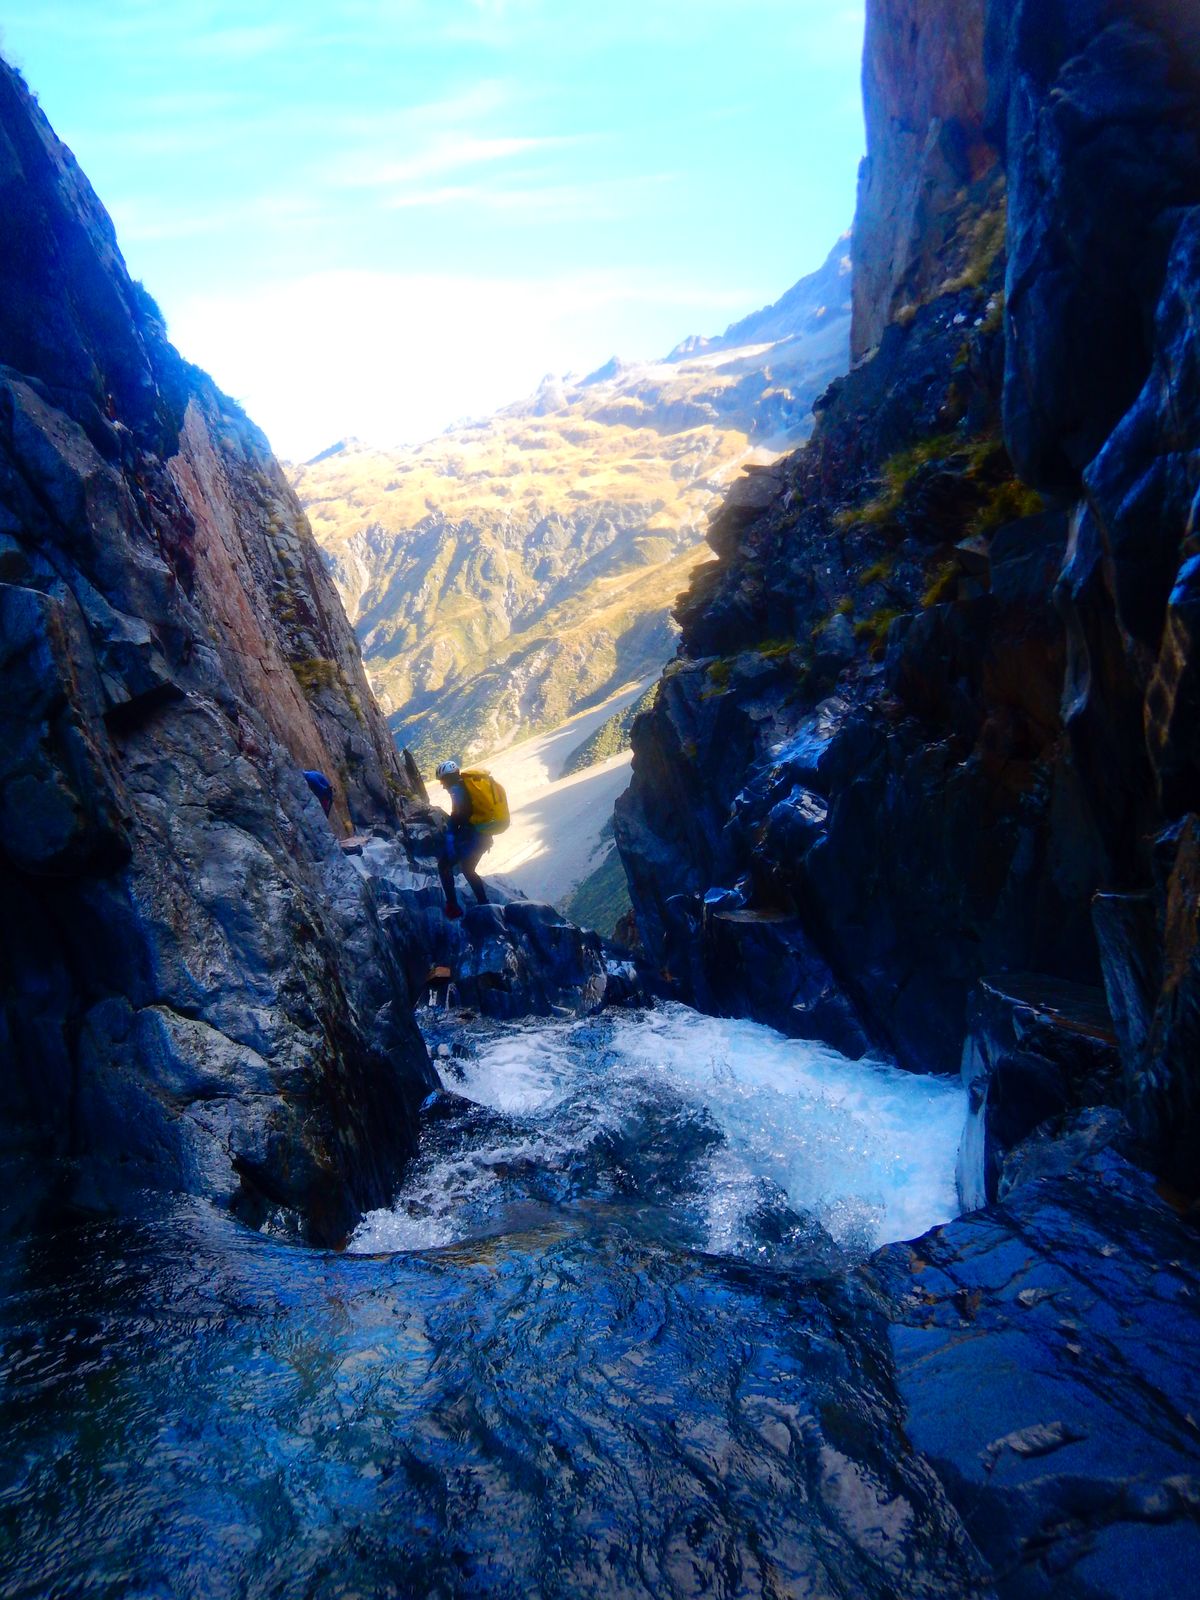
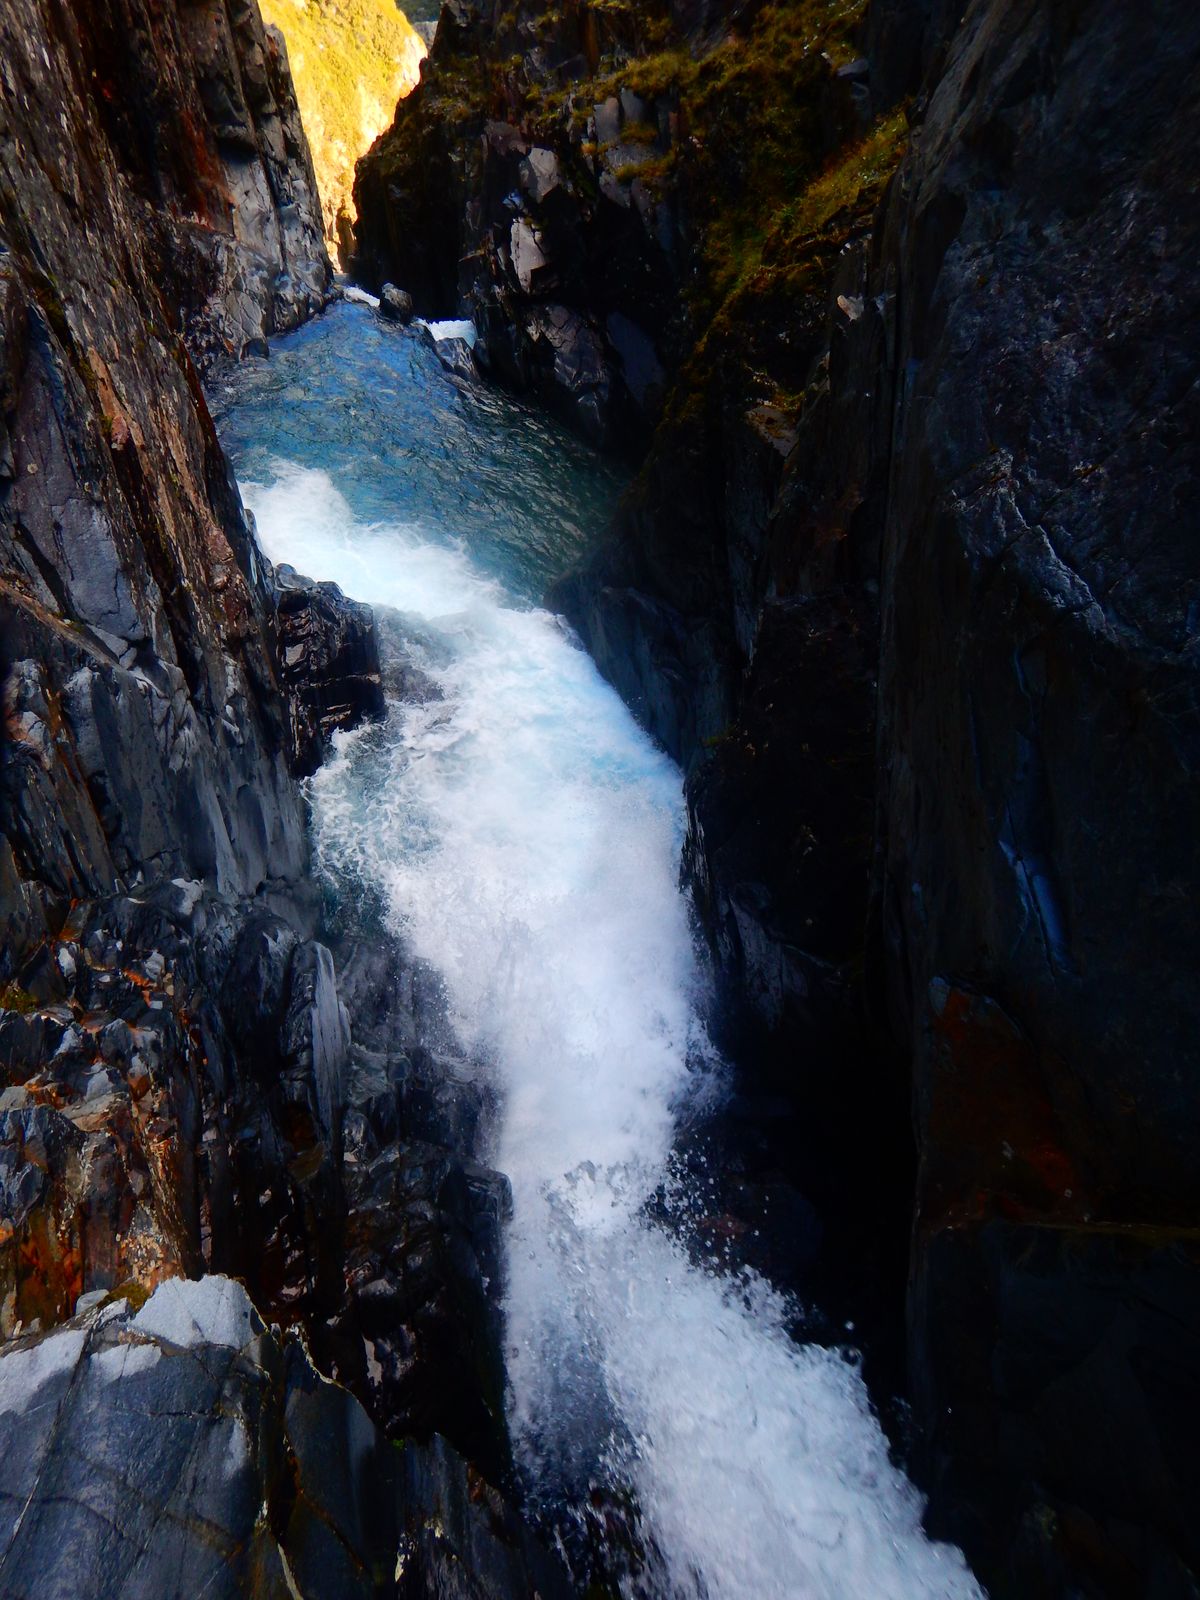
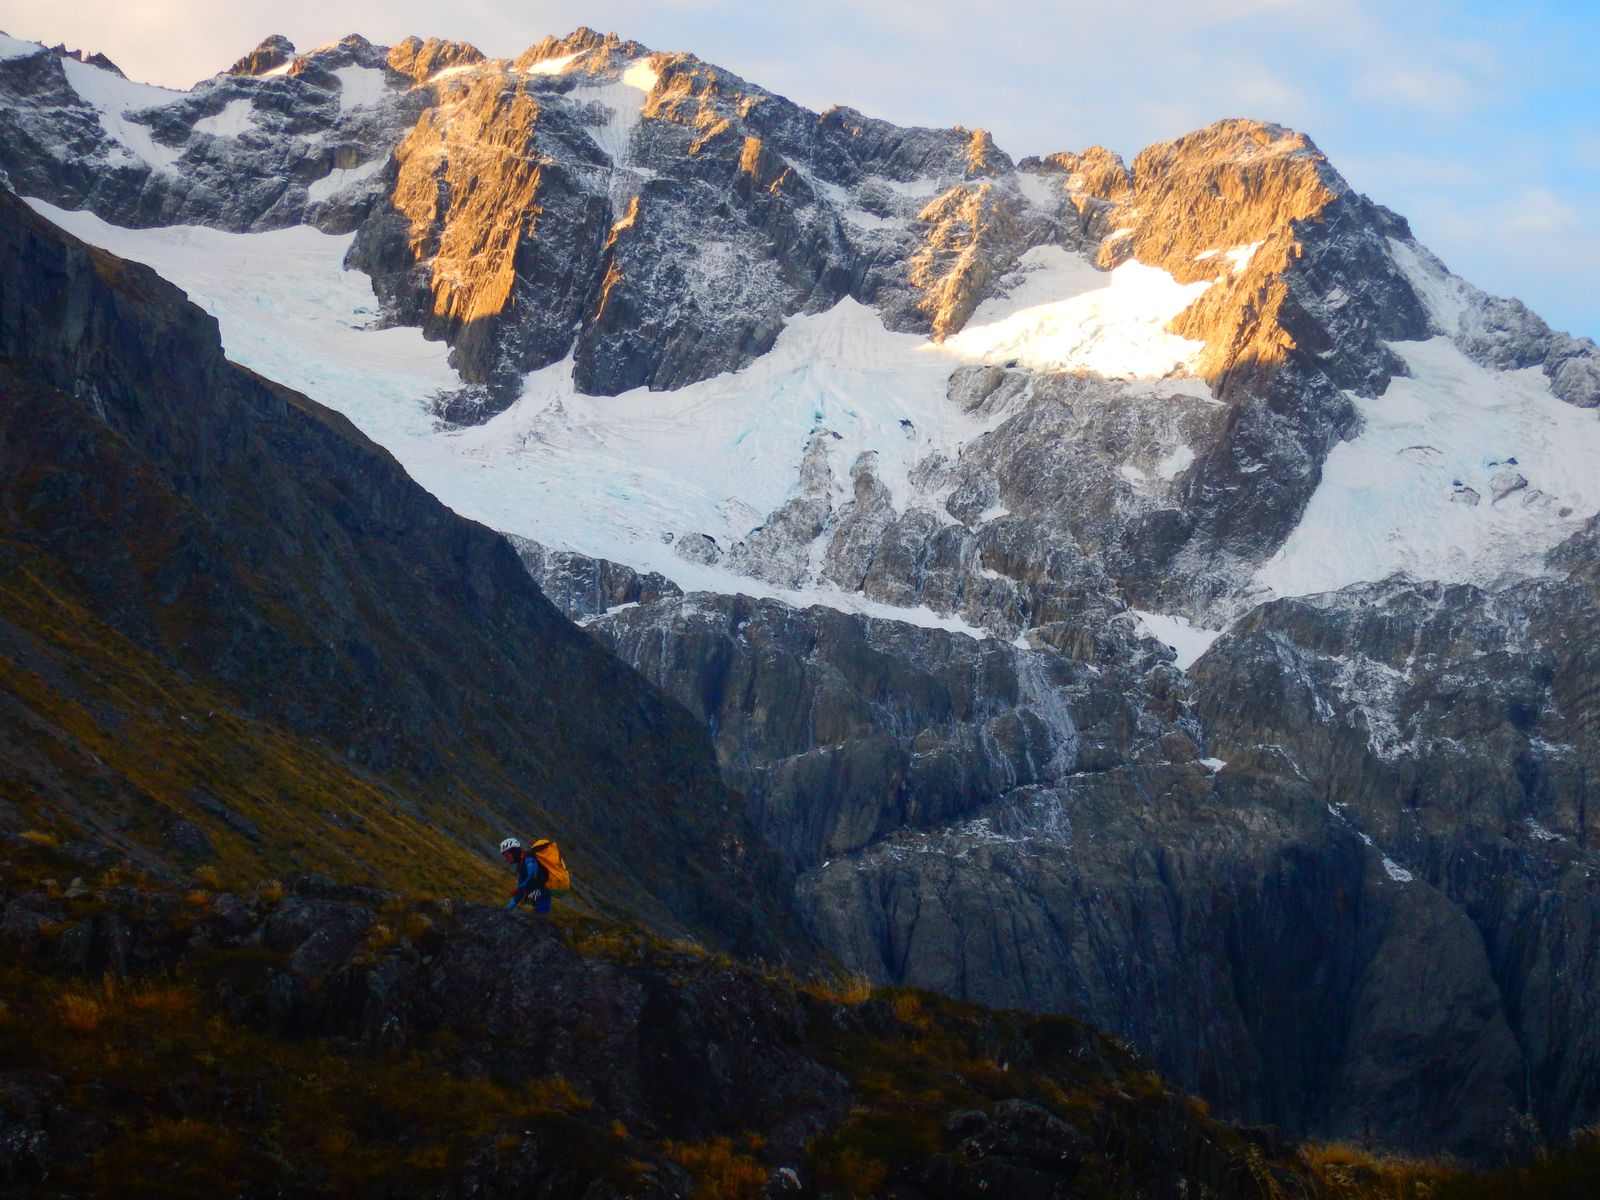
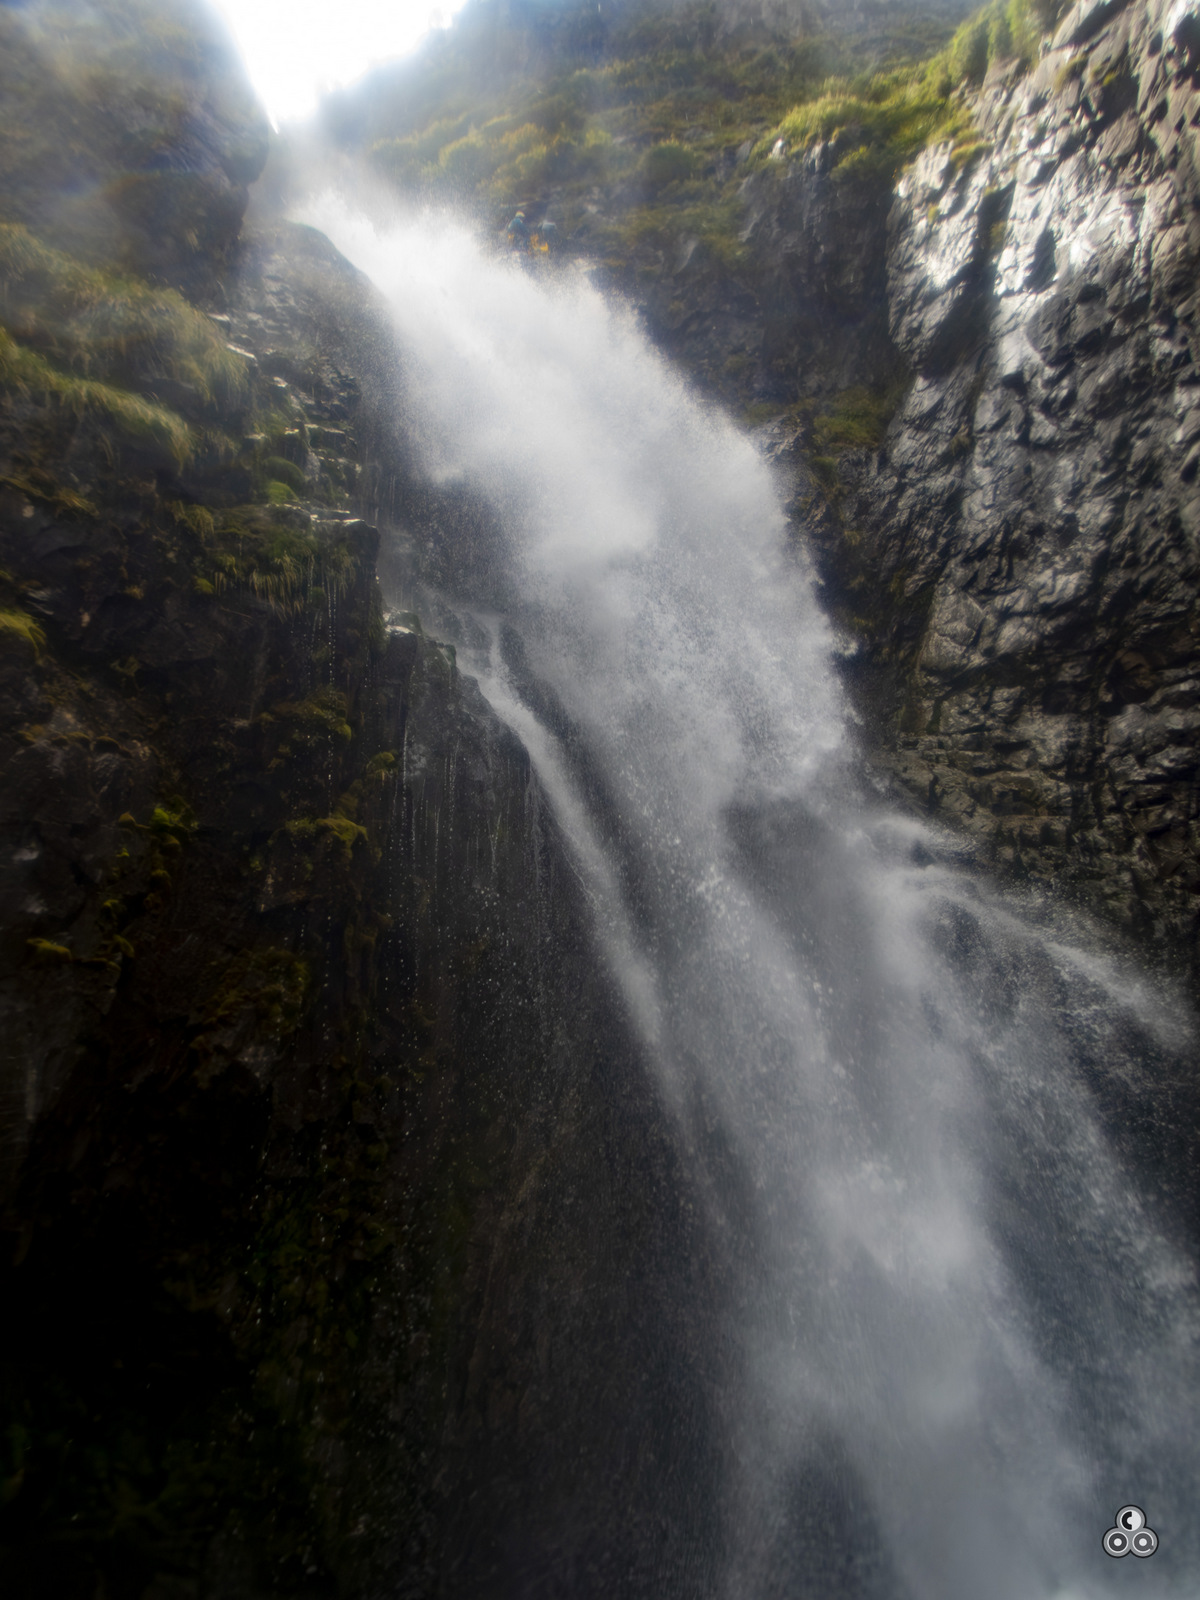
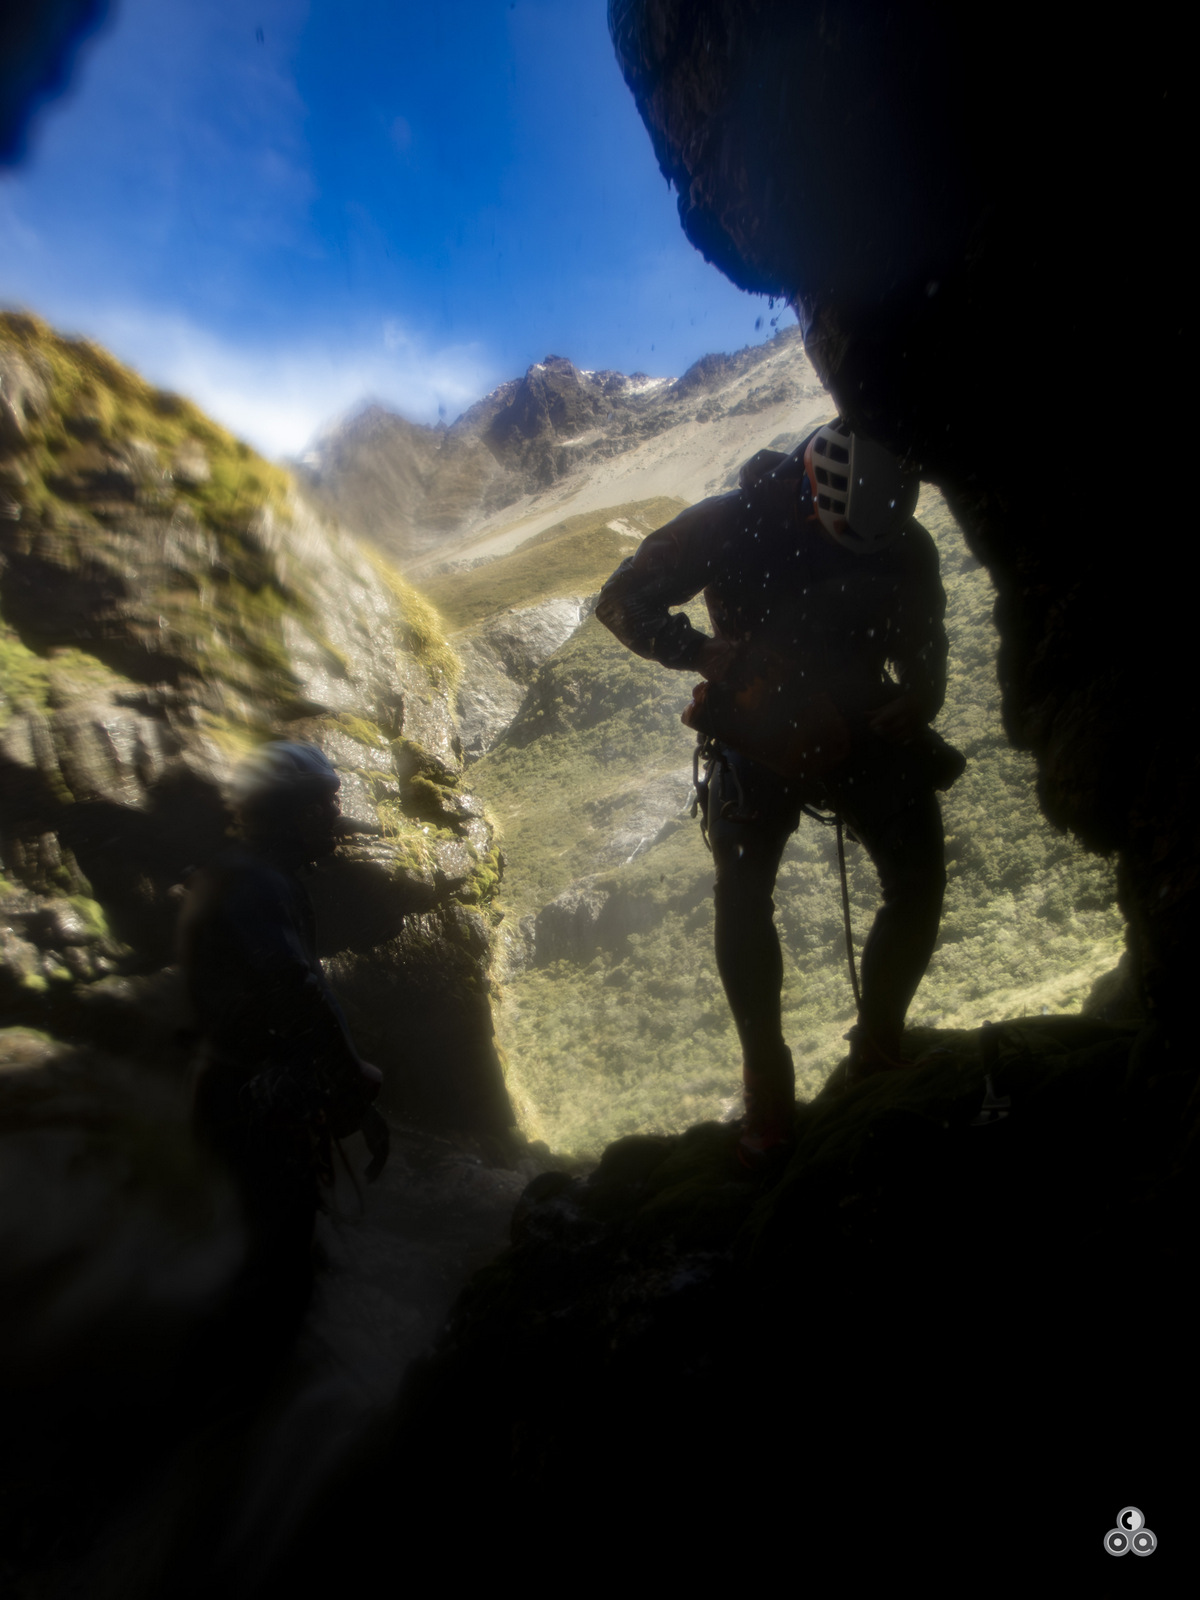
In the Ahurirri valley, south Canterbury, lies a steep series of stacked waterfalls in an enclosed slot, with plenty of flow. High up in the cirque beneath Mt Barth’s glacier, this test-piece is a long way from the Ahurirri valley road, so usually requires an advanced base camp. A fantastic weekend objective for expert canyoners.
Thanks to Toine Houtenbos, Mark Norman and Erwan Coq for the photos, information and topos.
Exploration history
- First descent R4 to R9: Alain Rohr, Pete Choate, Kaden Anderson and Toine Houtenbos. 4 March ’19.
- First descent top to R40m: Alain Rohr, Mark Norman, David-Stephen Miles and Ben Thomas. April 2019
- First descent R10 to end: Alain Rohr, Erwan Coq and Toine Houtenbos. 6 March ‘24
- First full descent: Alain Rohr, Erwan Coq and Toine Houtenbos. 7 March ‘24
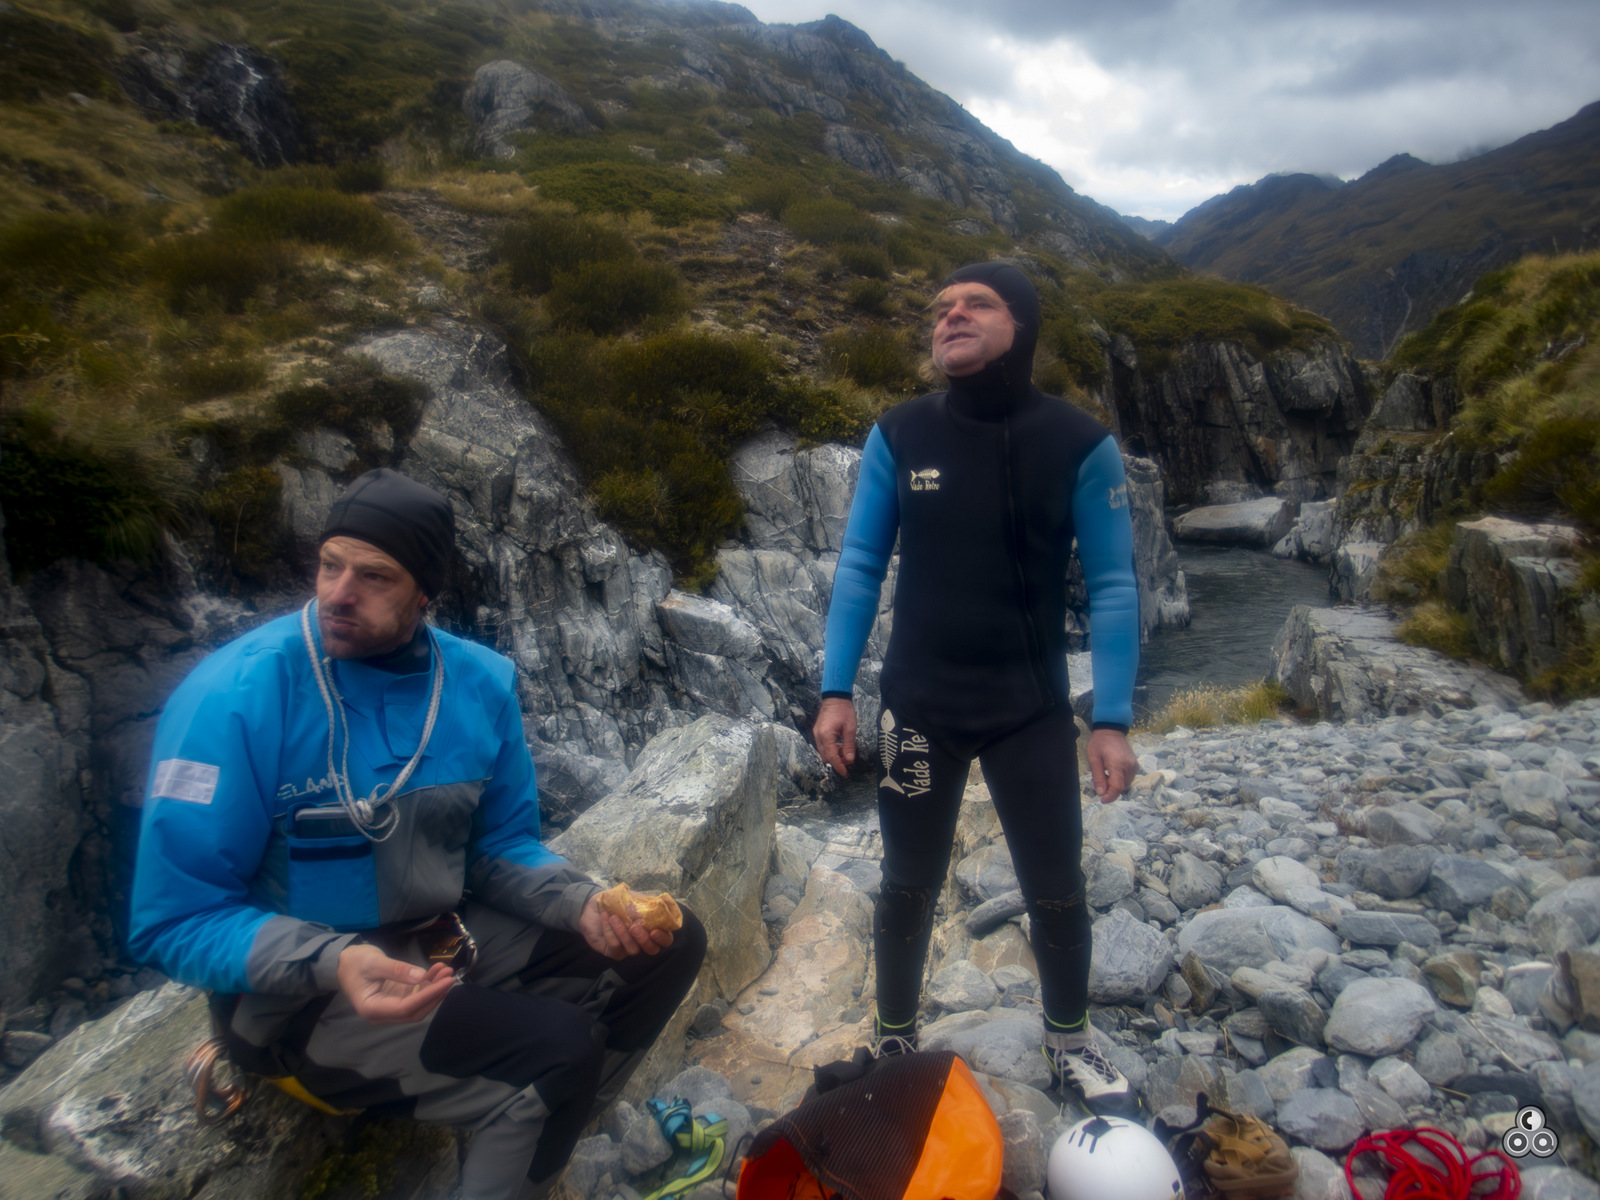
Photos from Mark Norman, 2019

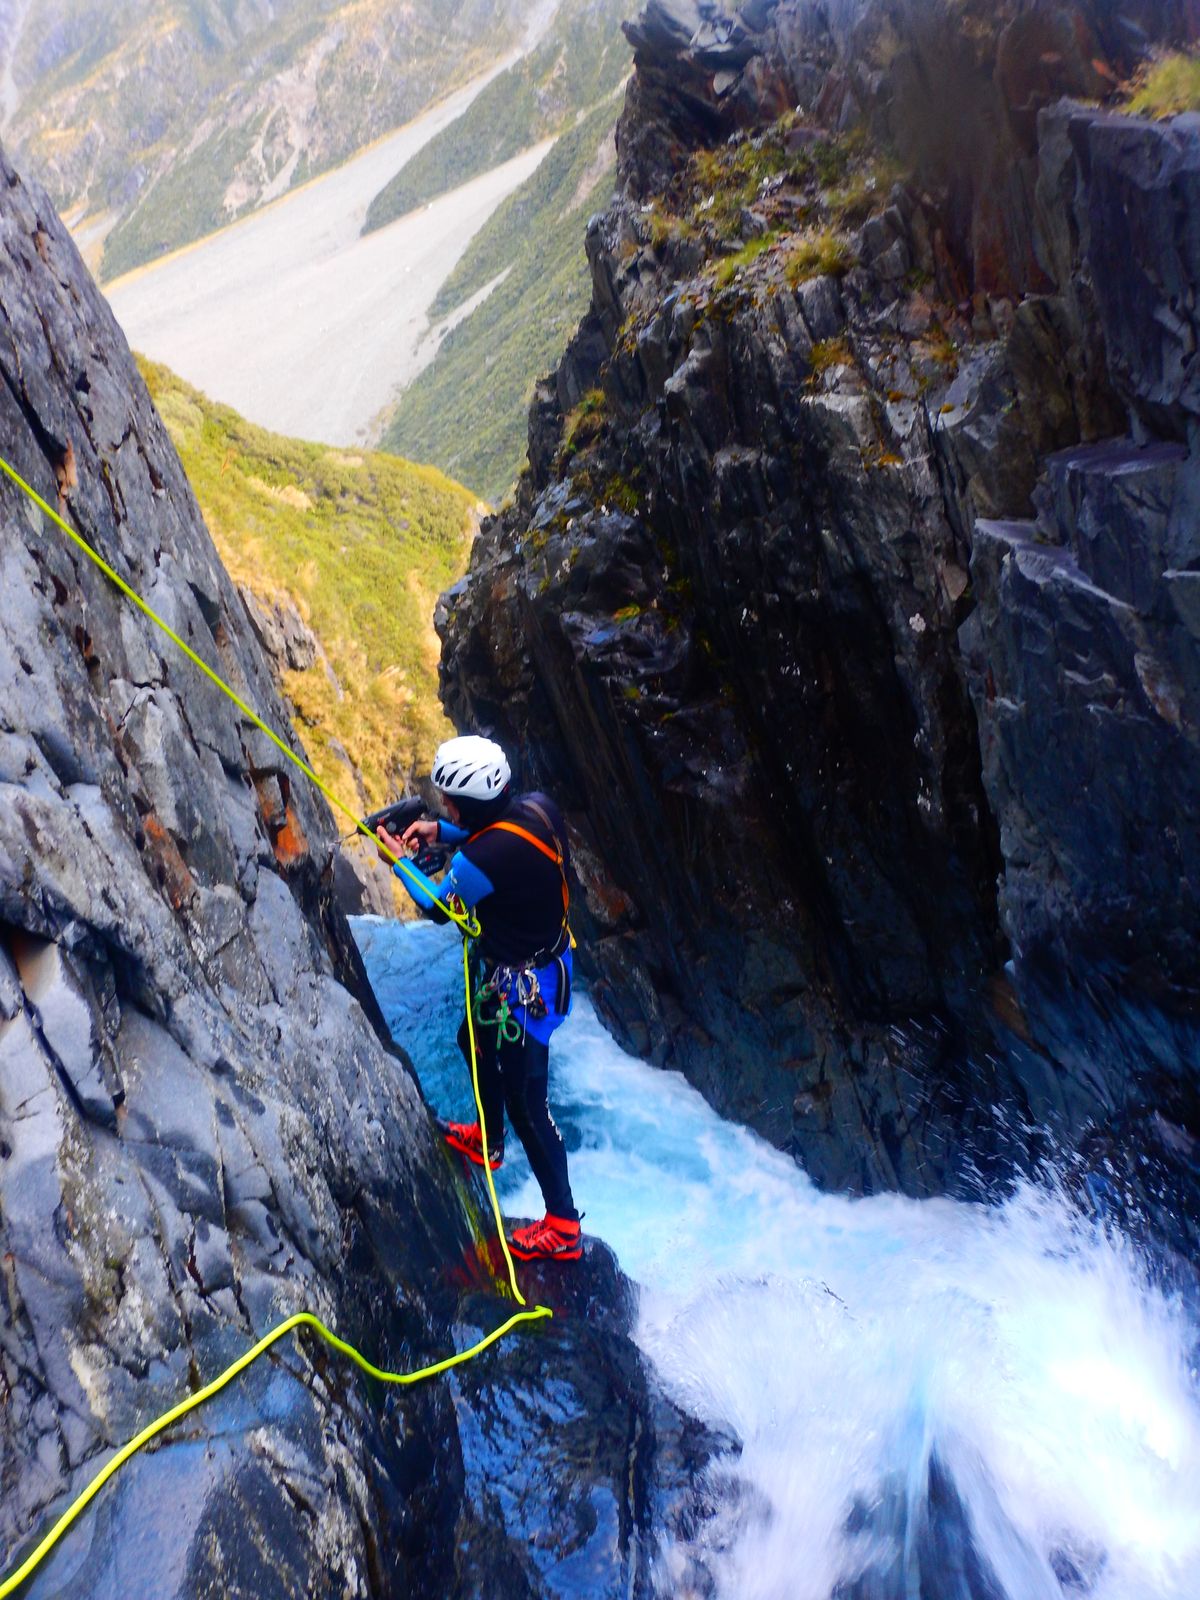
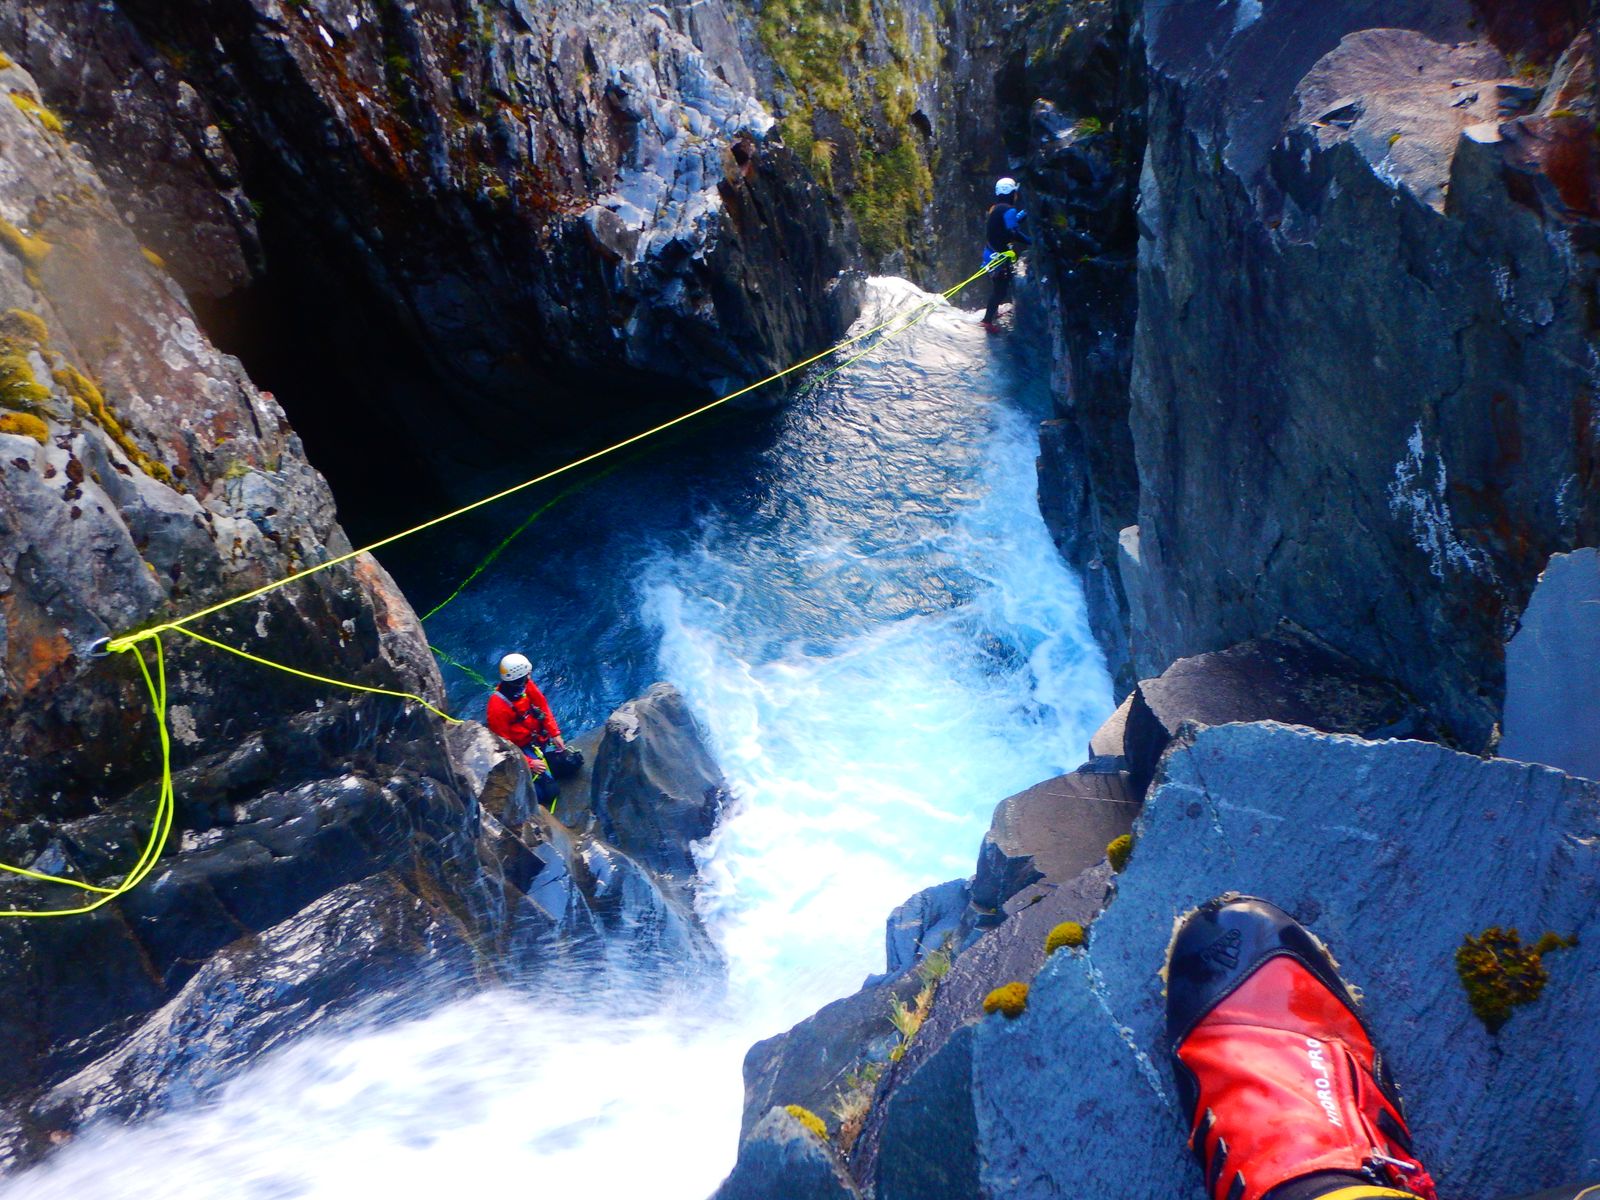
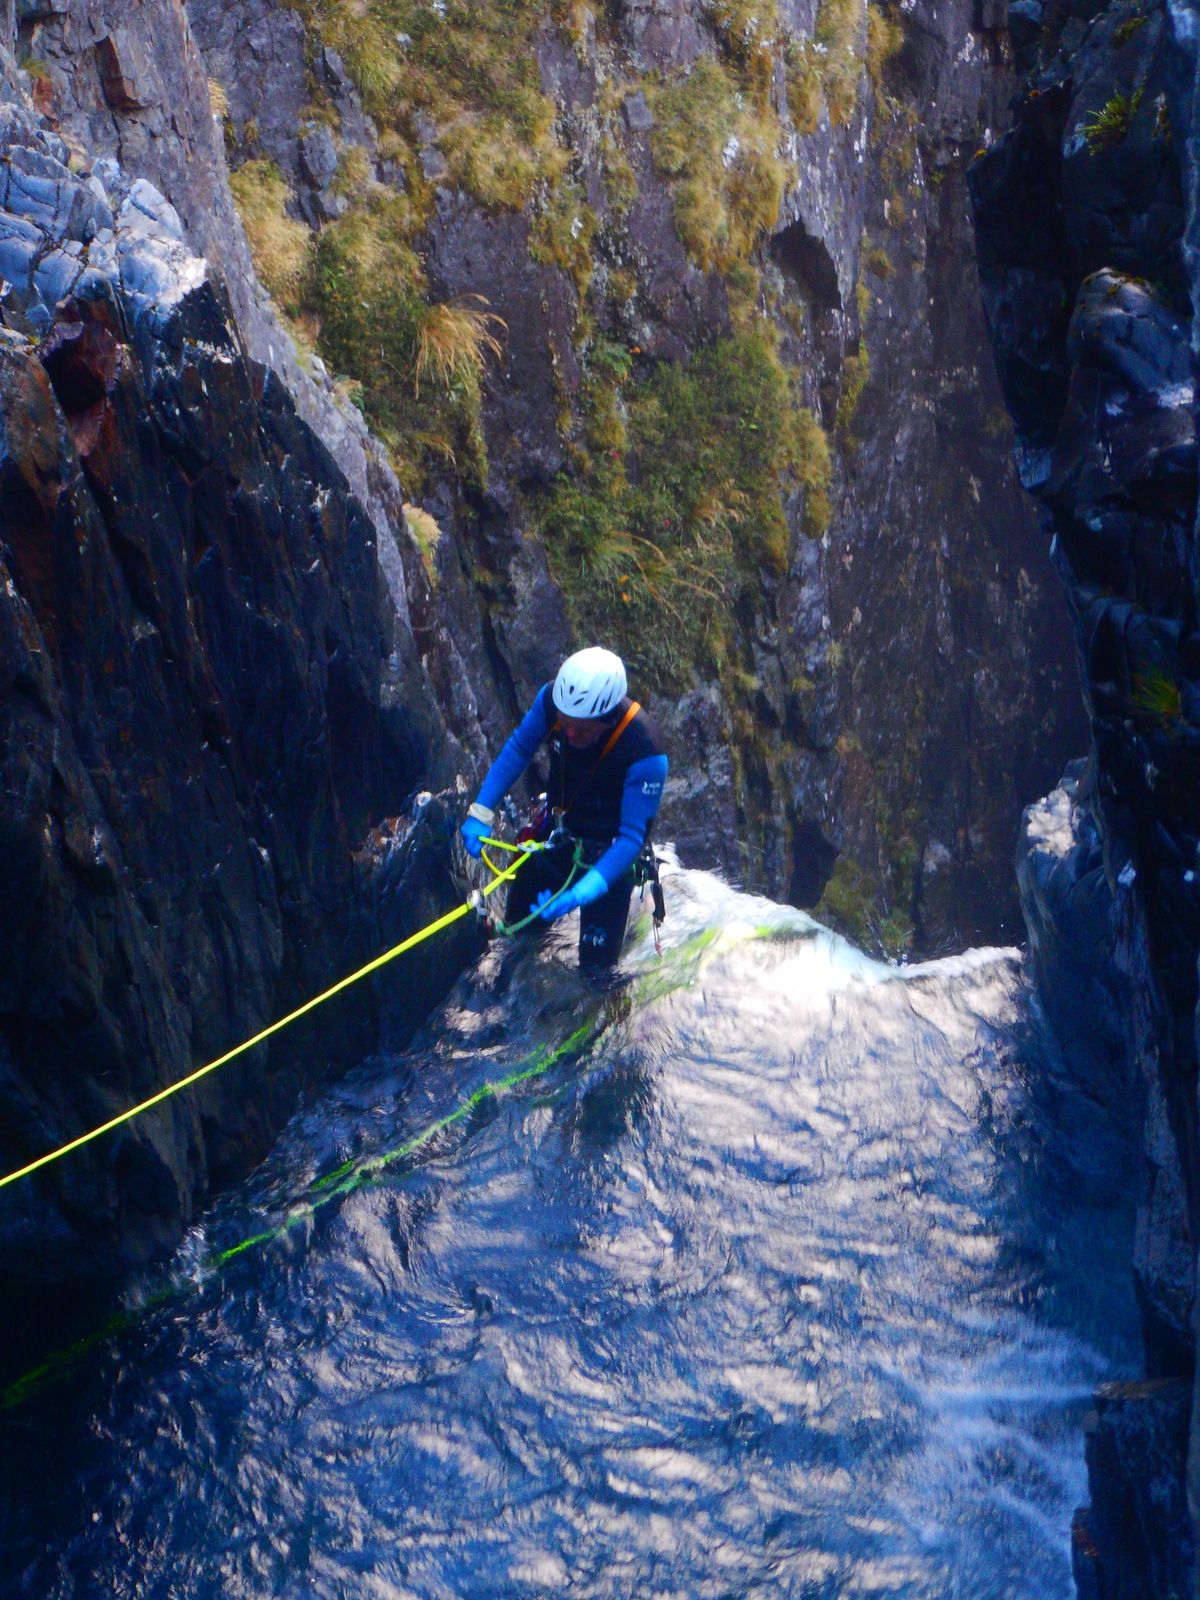

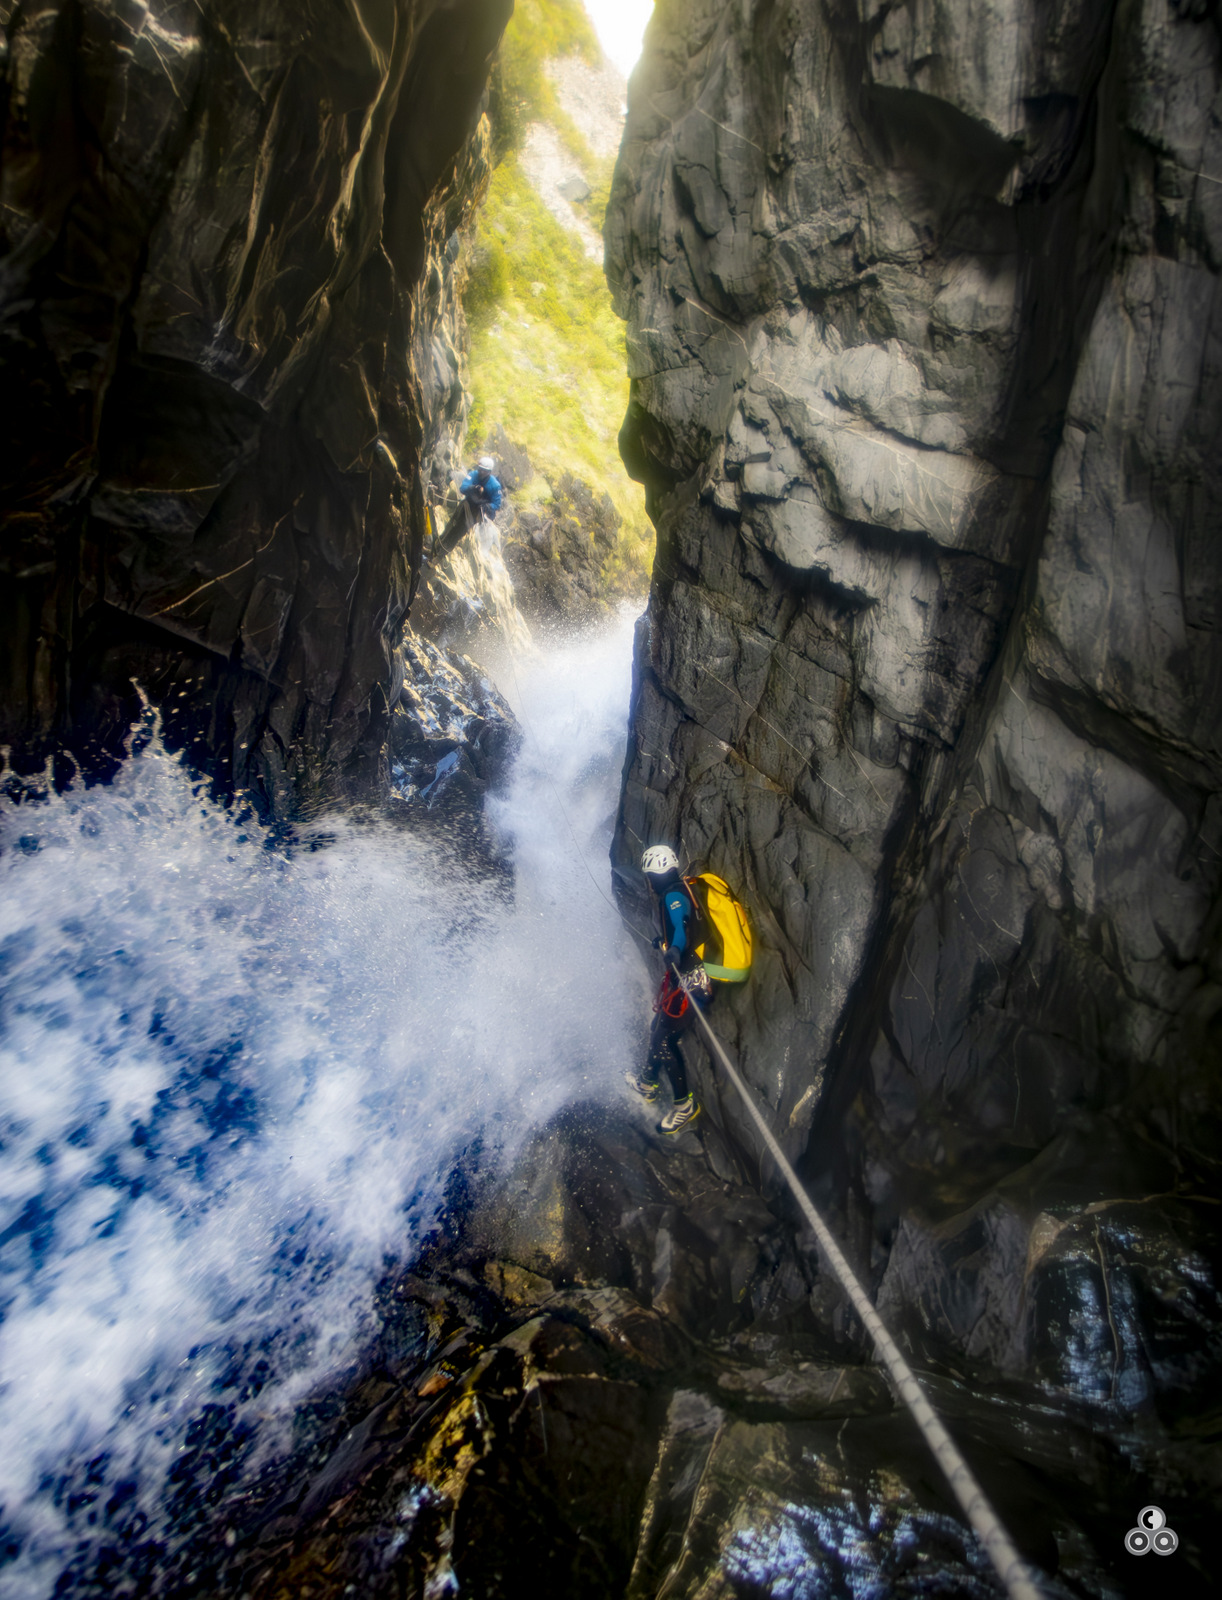
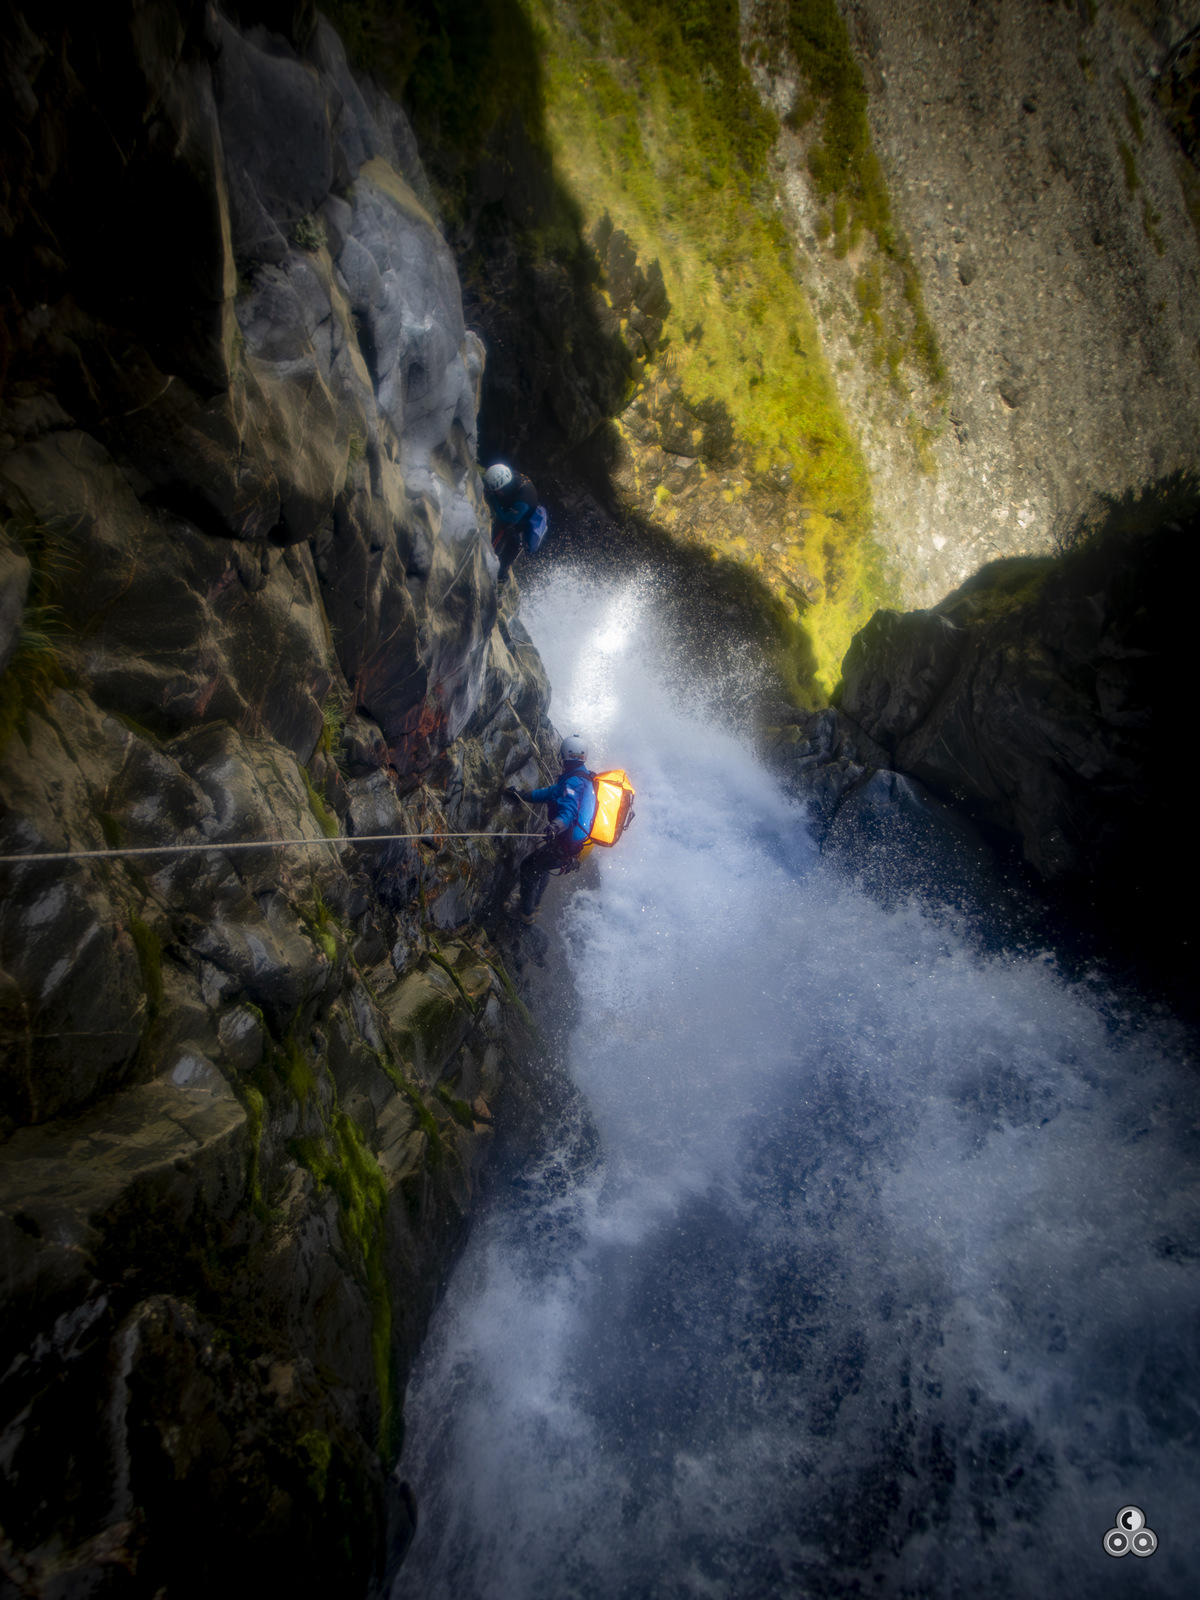
Photos from Erwan Coq and Toine Houtenbos, 2024

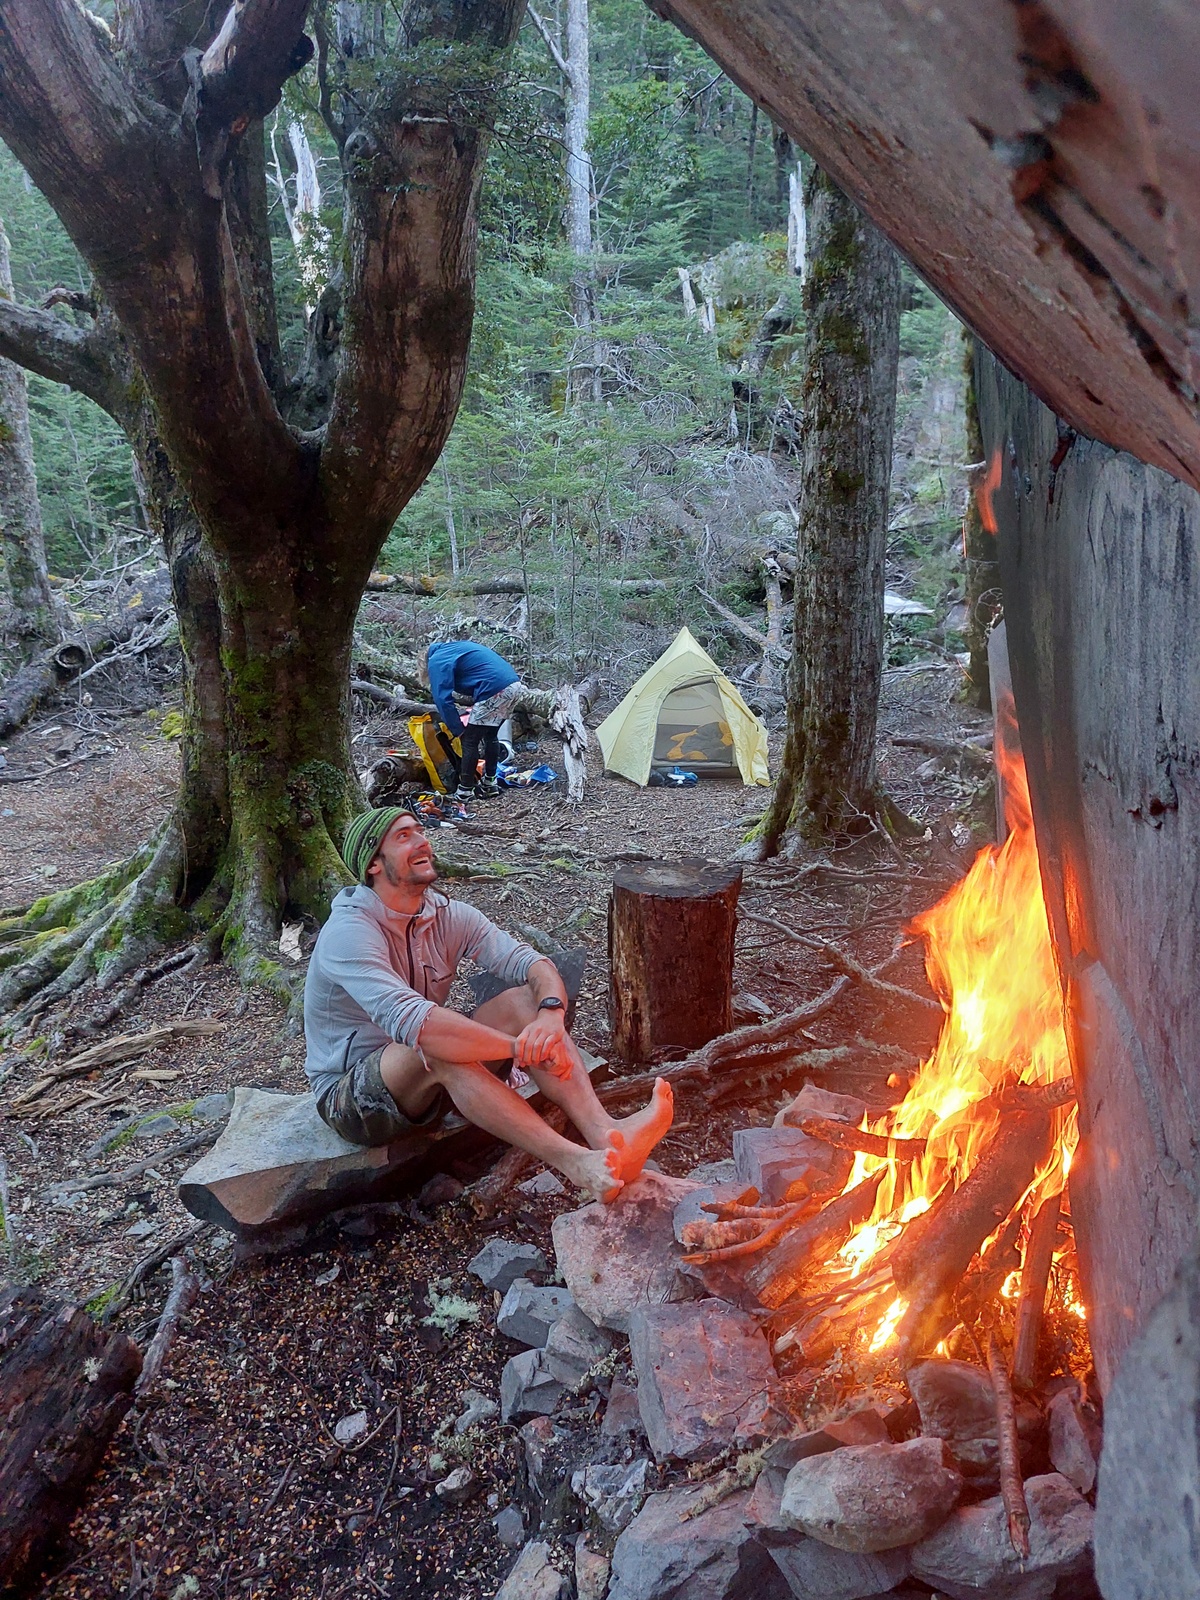


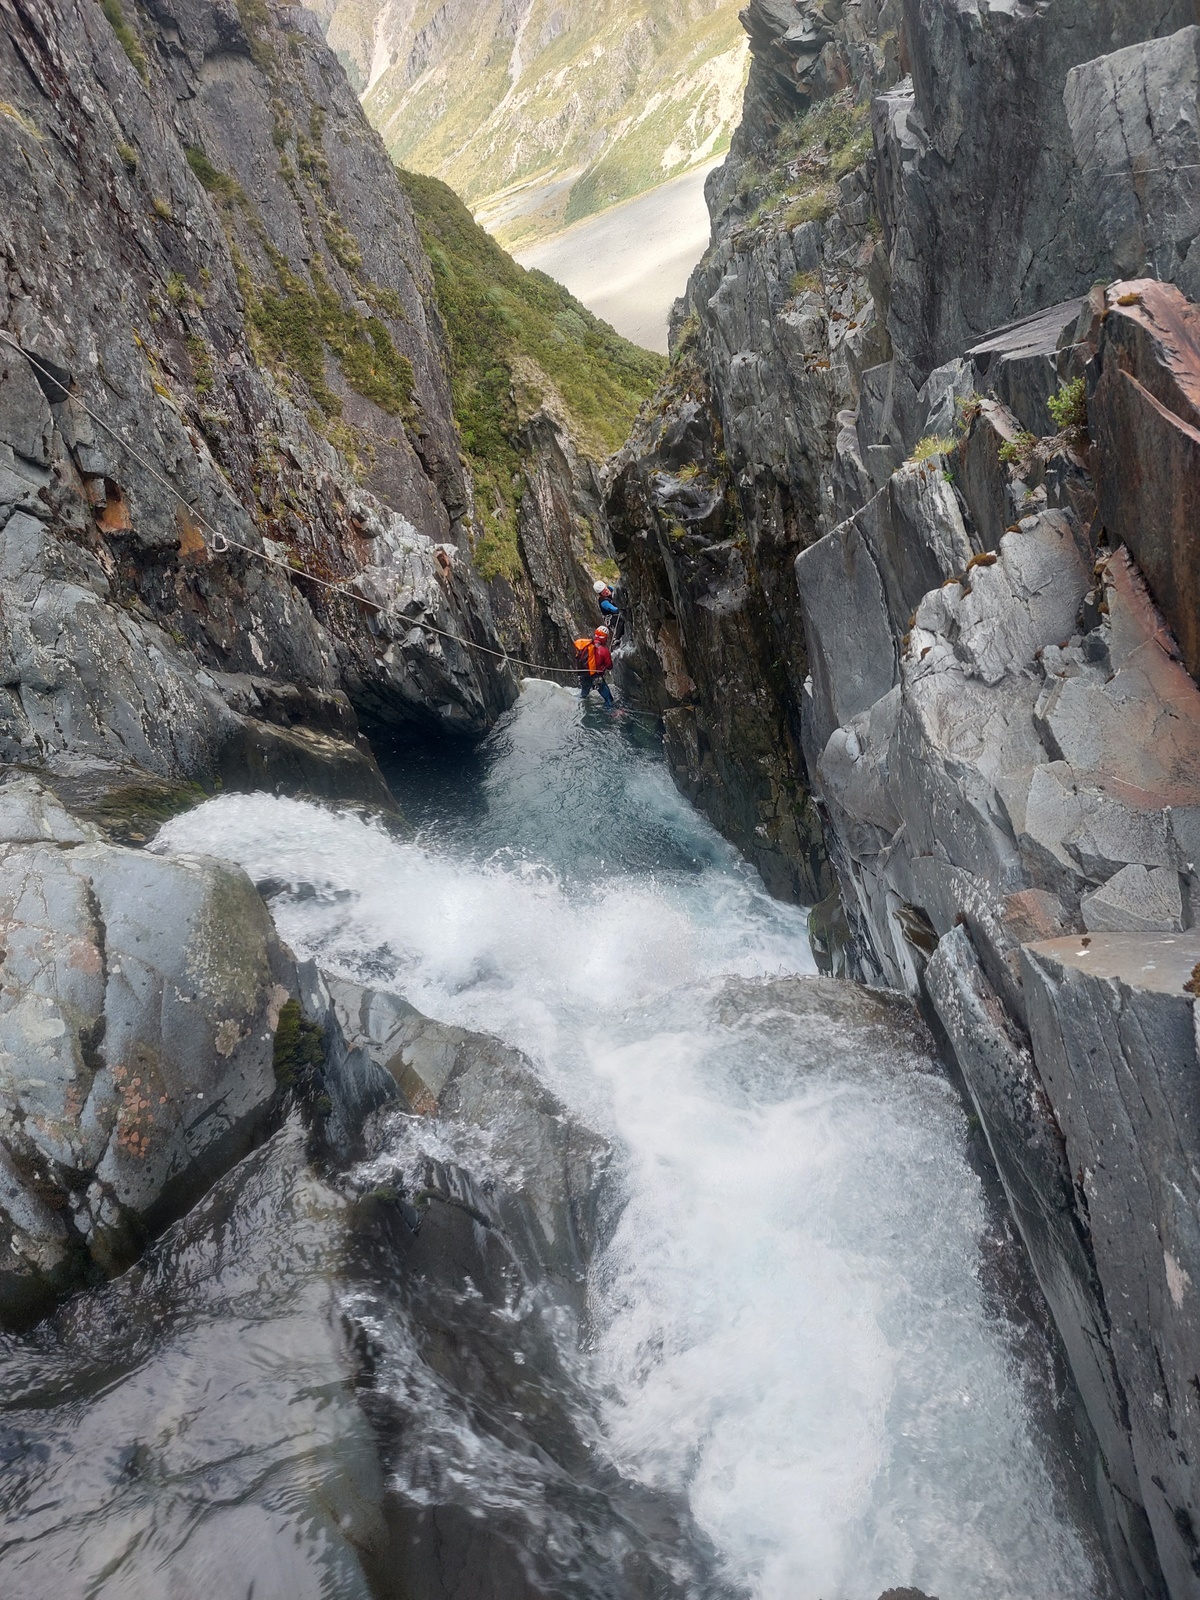
Photos from Dan Clearwater
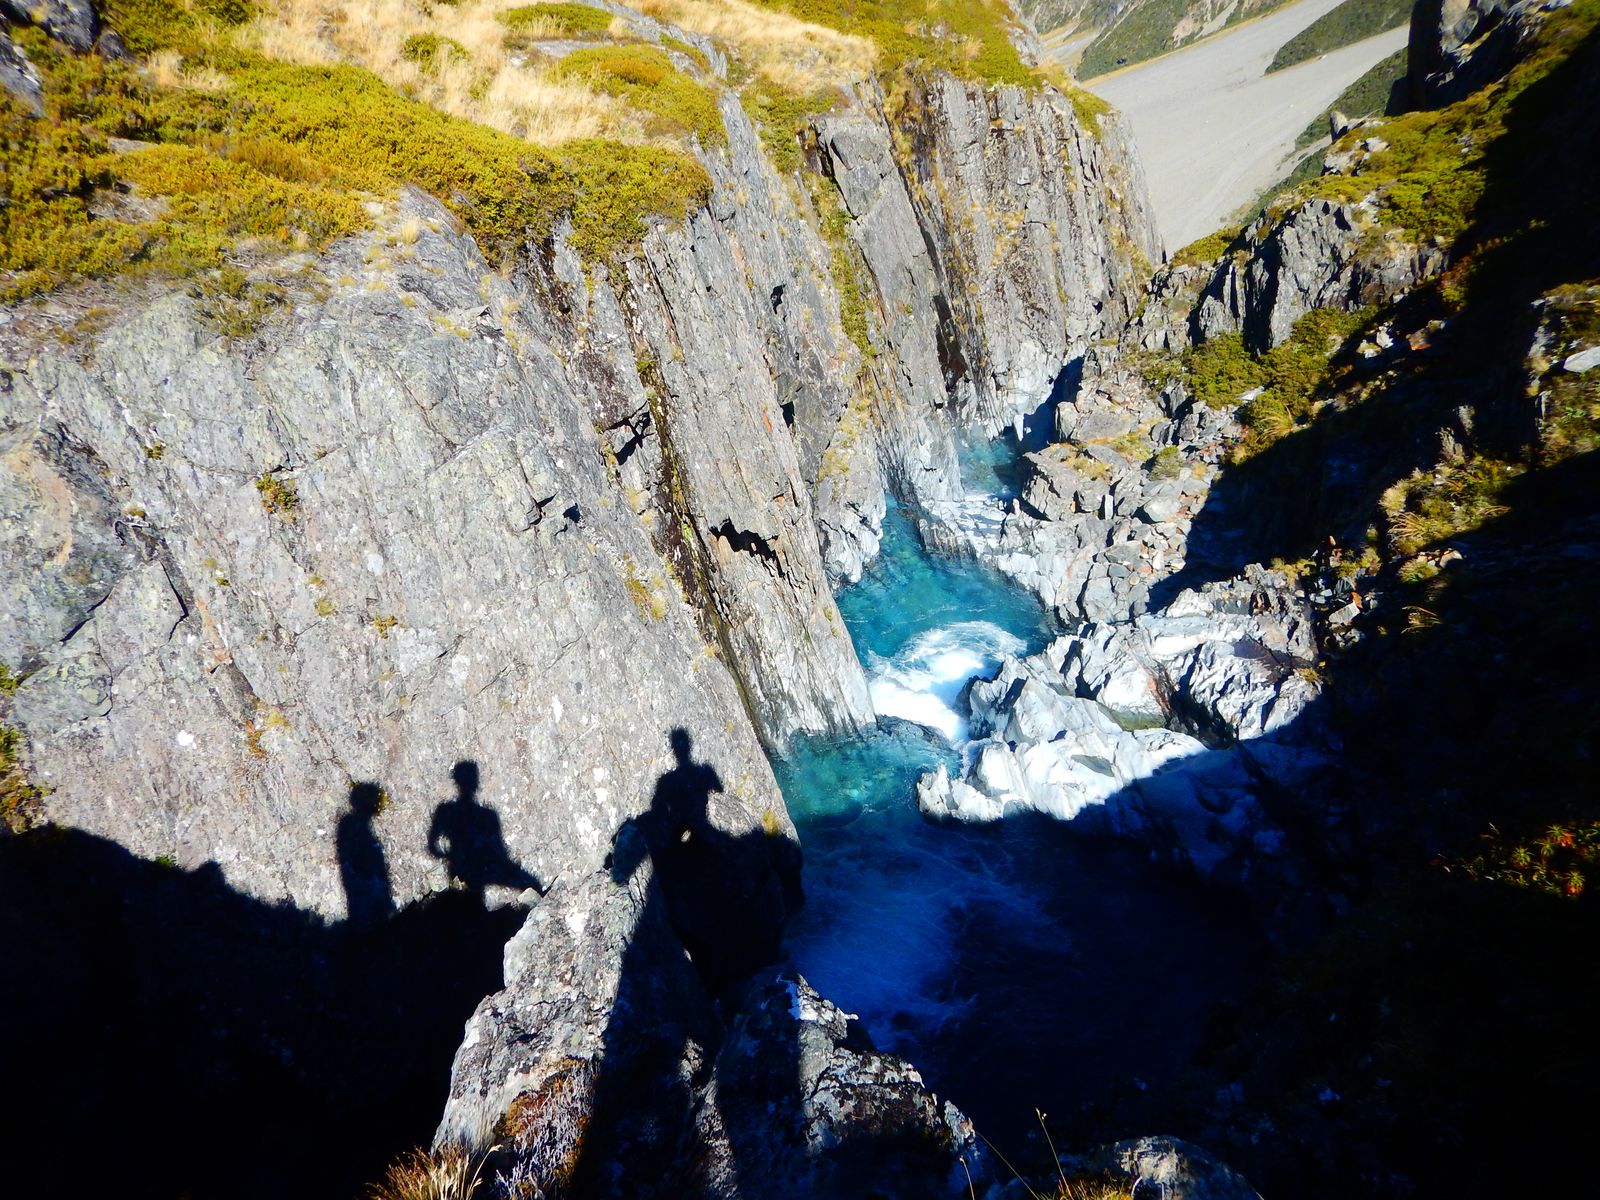
Showing views into the lower section whilst on the approach route.