


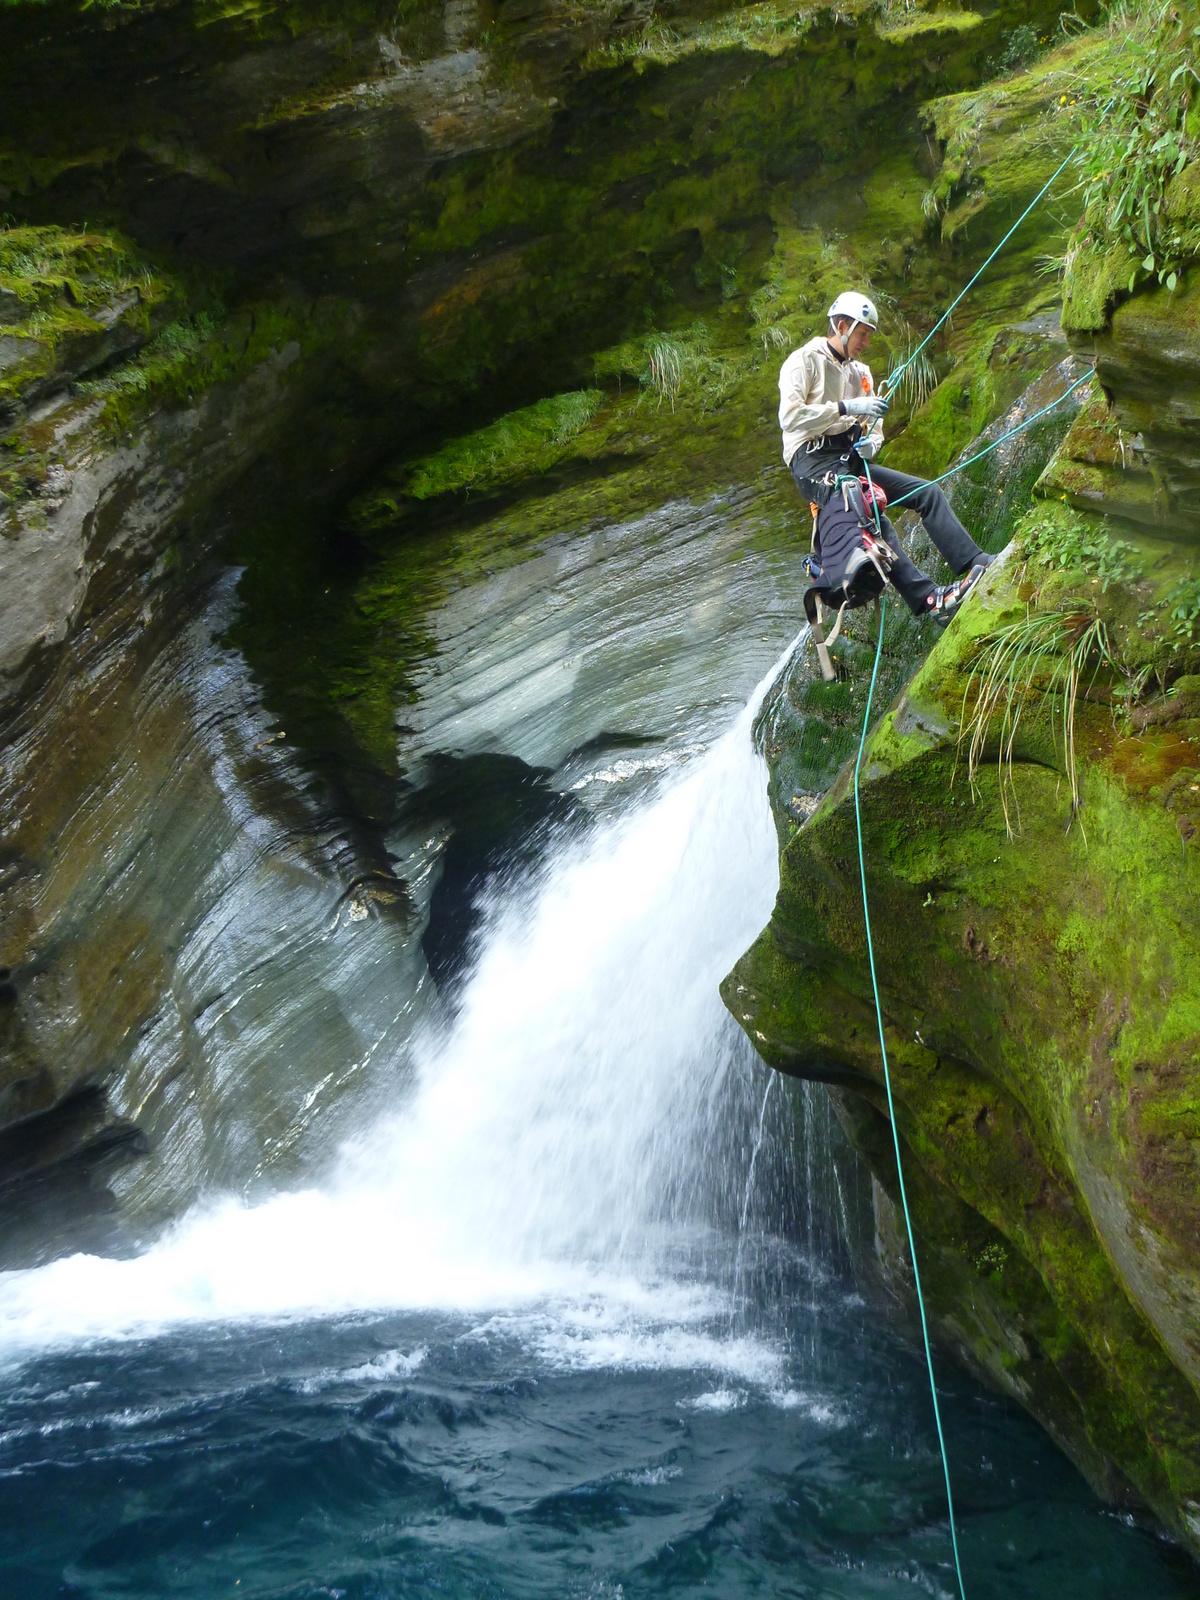
Highest drop 27m
3hrs
Public access, but there is private land surrounding the legal public land. It is essential to consult the WAMS website prior to visiting this canyon
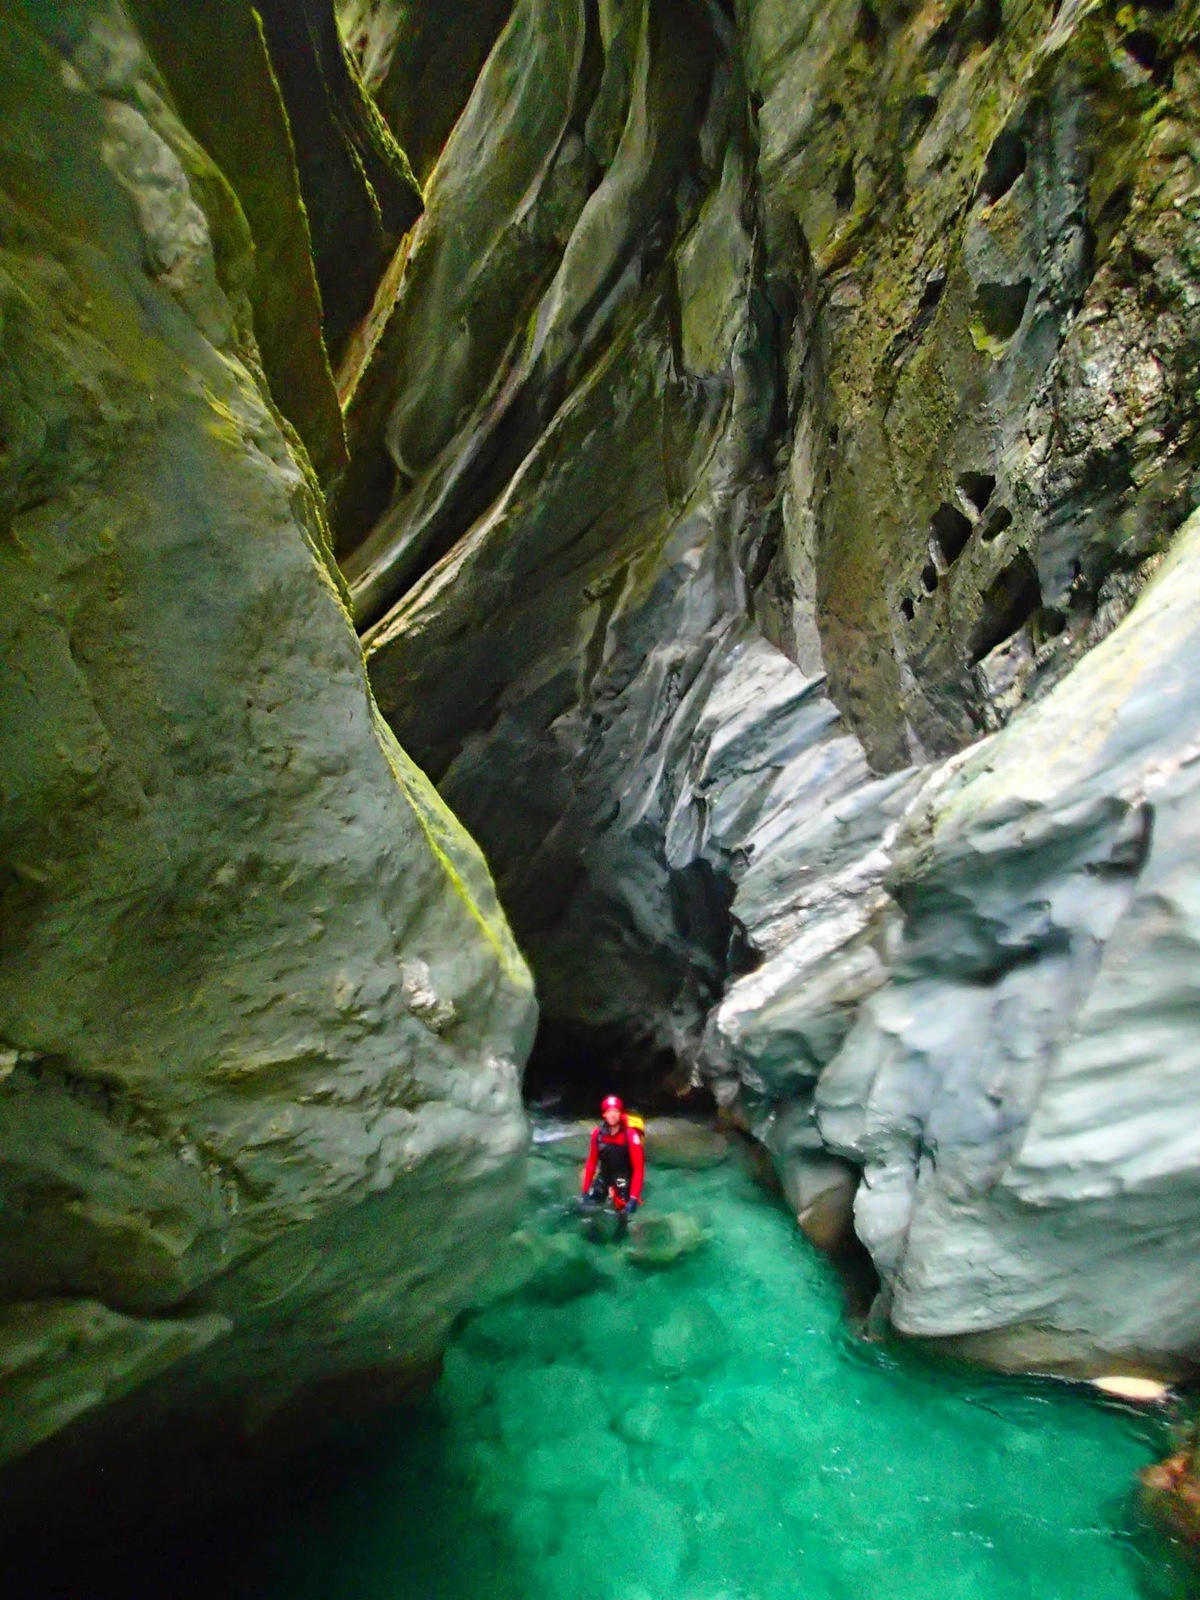
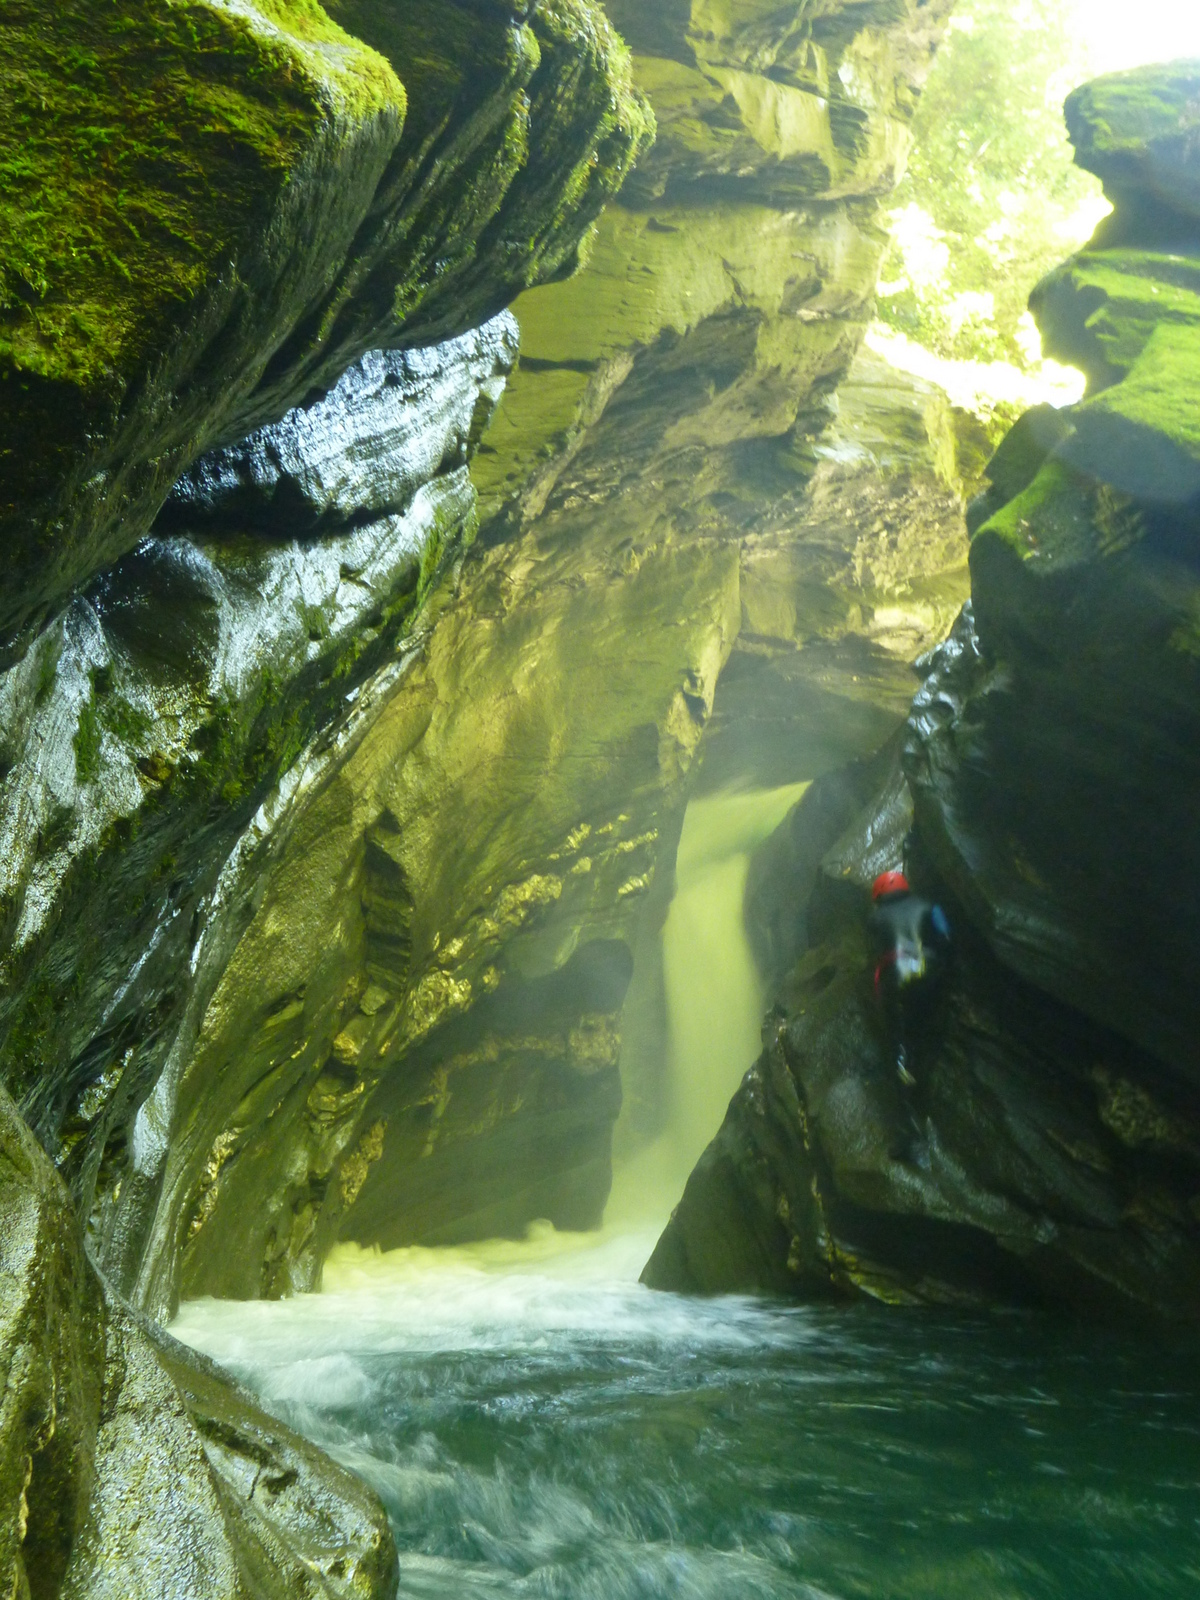
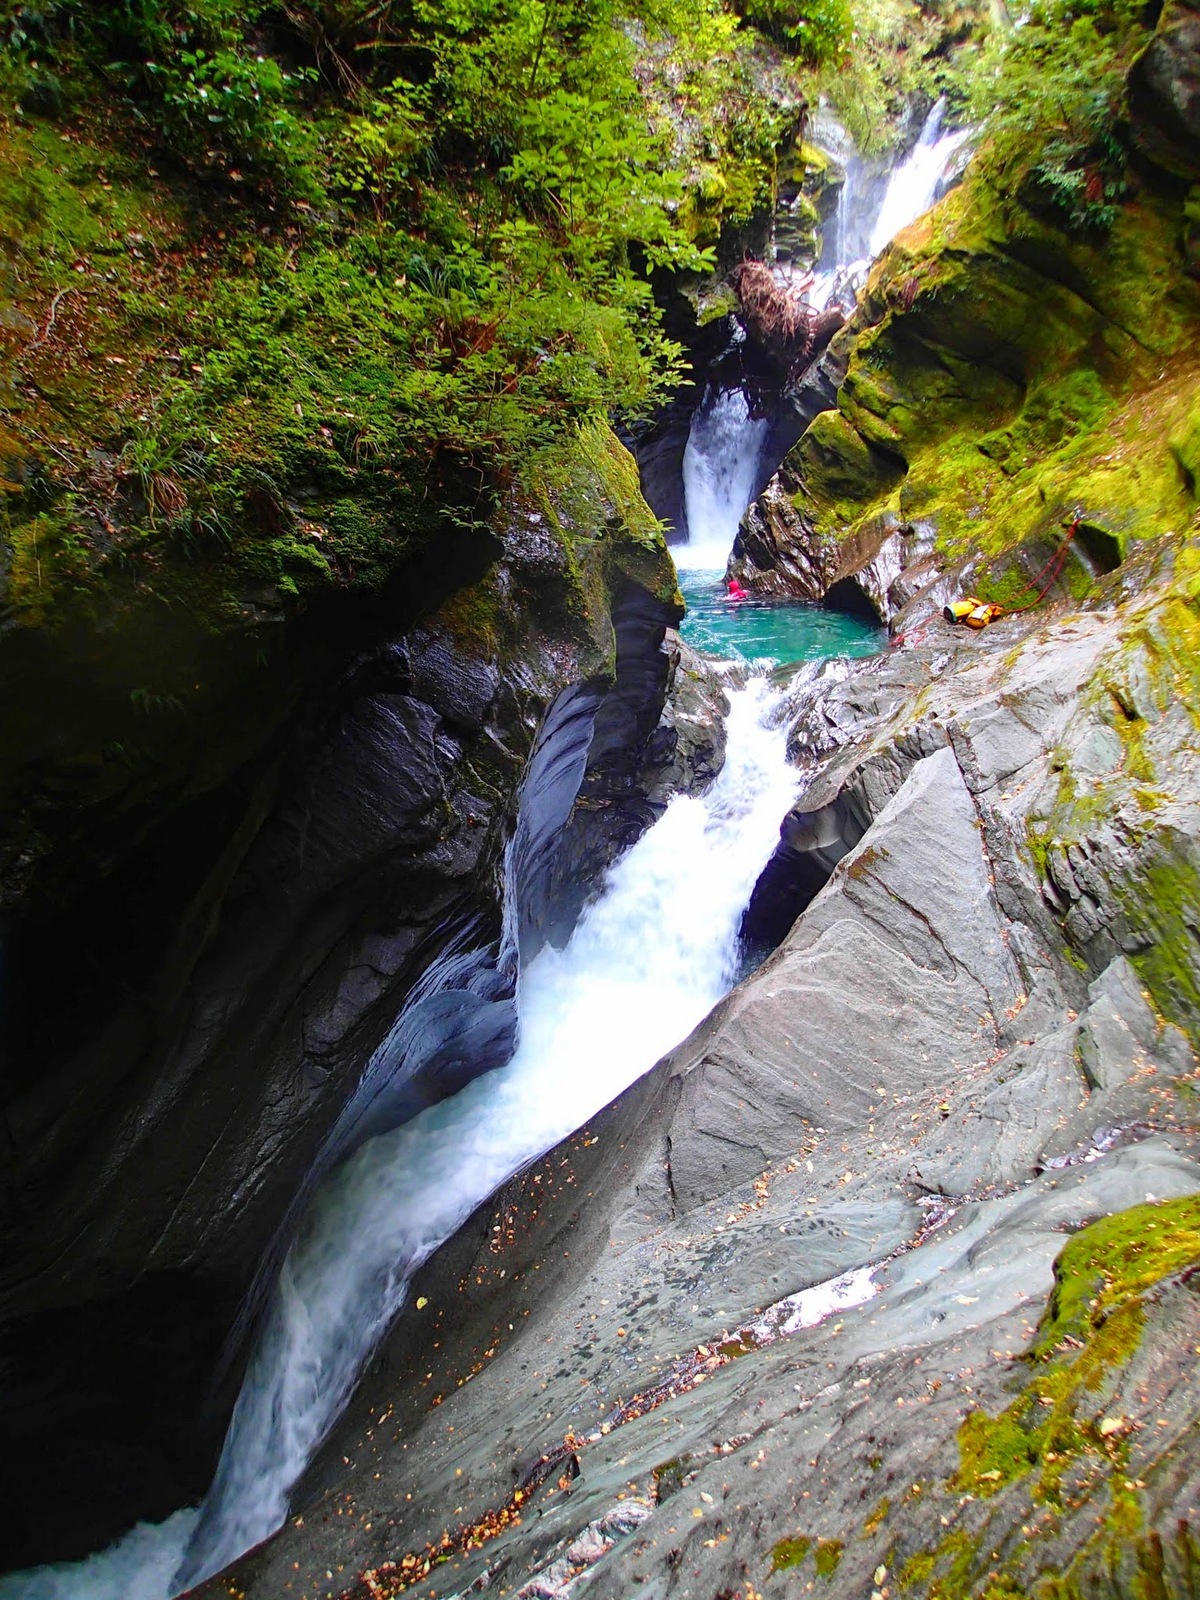
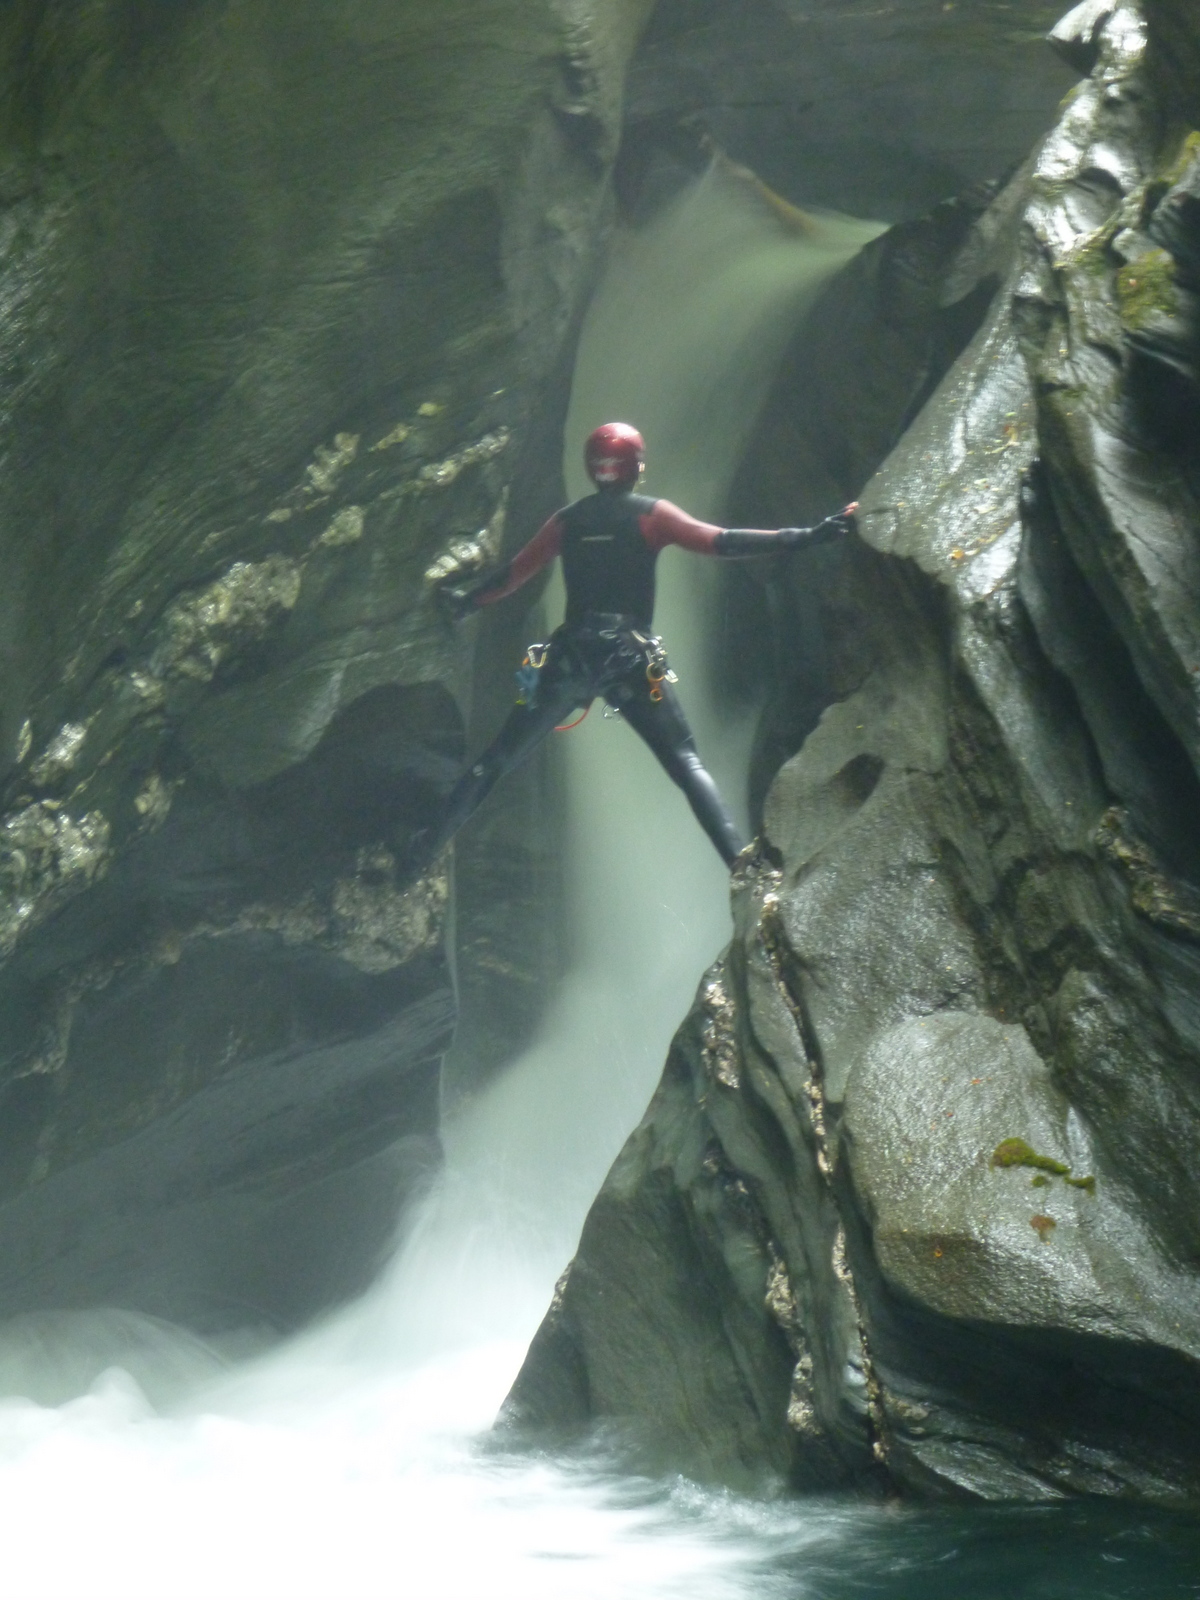
A very high volume canyon, with huge pools and big jumps. There are also plenty of dangerous water features, but they are generally straightforward to avoid.
This canyon is fully described in the Canyoning in NZ guidebook. Images courtesy of Cody Rients and Dan Clearwater
Guidebook updates
Water level gauge
A log jam at the water level gauge means that the lines shown in the guidebook are no longer reliable. In general, If the high level snow in the catchment is mostly gone, and the Matukituki River @ West Wanaka gauge is less than around 50 cumecs, then the river will be a straightforward crossing with good technique, and Mill is likely to be in condition.
There are additional logs jams in the final narrows (as at 8 Jan 2025) which could be problematic in higher flows (as a sieve).
Approach information
After assessing the water level, head back 50m or so, to a spot you can easily scramble up on the TR bank. Ascend through fairly open beech forest. Remain close enough to the canyon rim that you can see where the edge would be. (The edge is vertical, so don’t get too close!!)
If you’re staying close enough, you’ll spot a tributary gully after 15 minutes or so (the ‘mini canyon’ in the guidebook) which nearly parallels the main canyon.
Cross this mini canyon as soon as you can: its steepish down and up the other side, but not too bad. The other side is a fairly narrow bushy spur. Climb this spur for a short distance, keeping an eye out for a social trail that heads off the spur to your right, in a downwards sidle towards the canyon.
Follow this sidling path through the bush and across the huge rock slab slip face. There are a series of fixed lines in place as of 2025. A final fixed line then leads straight up for a few meters to the bush again. Descend the bush a few metres to reach a spot at the canyon edge with huge blocks where you can suit up.


Great water level, super easy,very beautiful,
Anchor points are double bolts some glued, some expansion bolts, not happy with the blue webbing used to back up bolts very surprised it is run commercially considering the redundancy systems, glue bolts are messy. Pools are clear and deep.
Webbing should be removed and done properly. Otherwise very cool and cruisy canyon.
Low water in mill. Pools were very blue. Extended the second intermediate point on the R5 traverse to make for easy retrieval
Early season Mill trip, lots of snow melt on the peaks still, and some recent rain (days prior) and flooding (weeks prior) so the water level was ‘very high’ as expected.
All anchors are ok, some nuts can be loose, as has often been the case in Mill, so consider always having a spanner on hand.
Thanks to Oscar and the team for putting in the traverse, this worked great in the high flows at R5 which was not a place you’d want to abseil in at the level we went through. Consider this traverse the best option when levels are high. And the mallion in the middle would also be best replaced with a ring for ease of pulling in the traverse line.
For R6, the pool at the bottom now as a massive 1m thick tree blocking the usual jump, and the outlet of the pool has a dangerously unstable strainer (it reconfigured multiple times while I was around it). At high water levels this is very dangerous- some serious strainer action happening! To put up a tension line, we put 2 bolts in to manage this section due to the high water, of the two bolts one will certainly be taken out next flood- this was just to get past the strainer with the very high water levels.
All up great trip, no usual lovely blue pools unfortunately due the turbulent white whiter 😉 And our longer than usual time was the holdup navigating the strainer after R6.
Had a pretty high flow. All anchors in good or reasonable condition, just the odd loose nut. Always check!
Last pool before final narrows has a massive tree fallen in from above, which is a bit awkward to navigate (think tangled ropes). Followed by sievy log jam at end of pool. We added a bolt on TR above log jam, and a bolt on TL at the log jam to assist with safe crossing in front of jam. The bolt on TL is unlikely to survive a flood as is very exposed.
Good trip, beautiful canyon. Bring some cash, they have real fruit ice cream on the parking if your lucky.
Good trip, super low flow, added two intermediate points and a bolt /thread anchor to the R5 pitch making the exposed traverse a bit easier, the second intermediate point adds some extra friction so plan ahead when setting up the traverse.
A log in the R5 pool means the jump is a little more tricky… needs scouting with googles to find the right landing zone.
A number of anchors have been upgraded with chain belay stations. Some webbing stations still, so BYO webbing to replace them and keep the anchors in tip-top condition.
Canyon-wide log jams in the final narrows (after R6) could be problematic in high flows. Treat them as suspect: both stability (one person at a time over/near the jam) and also for sieve potential.
A fun trip with a fun bunch of people.. Just love the pools in Mill, so deep and blue!
A large land slip on the TR by R1 has added a few more logs to the canyon with most ending up near the end and making the downclimbing more difficult in higher than average flows. There is also a heap of fallen trees on the walk in as well. The slip is on the slope you traverse on the way in but there’s now a handline rope for safer access.
The middle anchor at R1 could still use a tidy up, I forgot about it once again and only had my hand bolting kit and not my drill so will try and remember next time. Still usable, just need to be aware one of the bolts is not 100%.
Great day out as usual, slightly above average flows, not as many changes in the canyon as anticipated from the slip.
Another great trip through Mill! Perfect sunny day.
First R1 anchor (which is made up of 3 sets of anchors traversing the ledges) has a damaged bolt on the second anchor set. Was meaning to repair it next time through from last season but have once again forgotten about it. It’s usable and is backed up by another bolt. Other than everything else looks good.
Flow normal, anchors good.